I am quite the overachiever which is perfectly demonstrated by the fact that I made not one, but two types of bread this weekend. Bread takes a while with all the proofing and waiting around. Each bread took about 5-6 hours to make overall so most of my Saturday and Sunday involved kneading out dough and hoping it would rise every 1-2 hours.
The first bread I made was kind of a last minute decision. Pete and I had hoped to have burgers that we got from Trader Joes one night last week. We were hungry and excited to make dinner but our rolls had a different idea. When we gathered all of the ingredients and took out the buns (which were bought not that long ago) we were disappointed to see that all of them had spots of mold on them! After that letdown, I decided that since I was making bread this past weekend any way, that I would attempt to make my own buns. I started to do research and found this recipe online: https://www.kingarthurbaking.com/blog/2011/05/16/countdown-to-summer-beautiful-burger-buns.
With the title “Beautiful Burger Buns” it seemed like an easy choice. Below I’ll go through the steps.

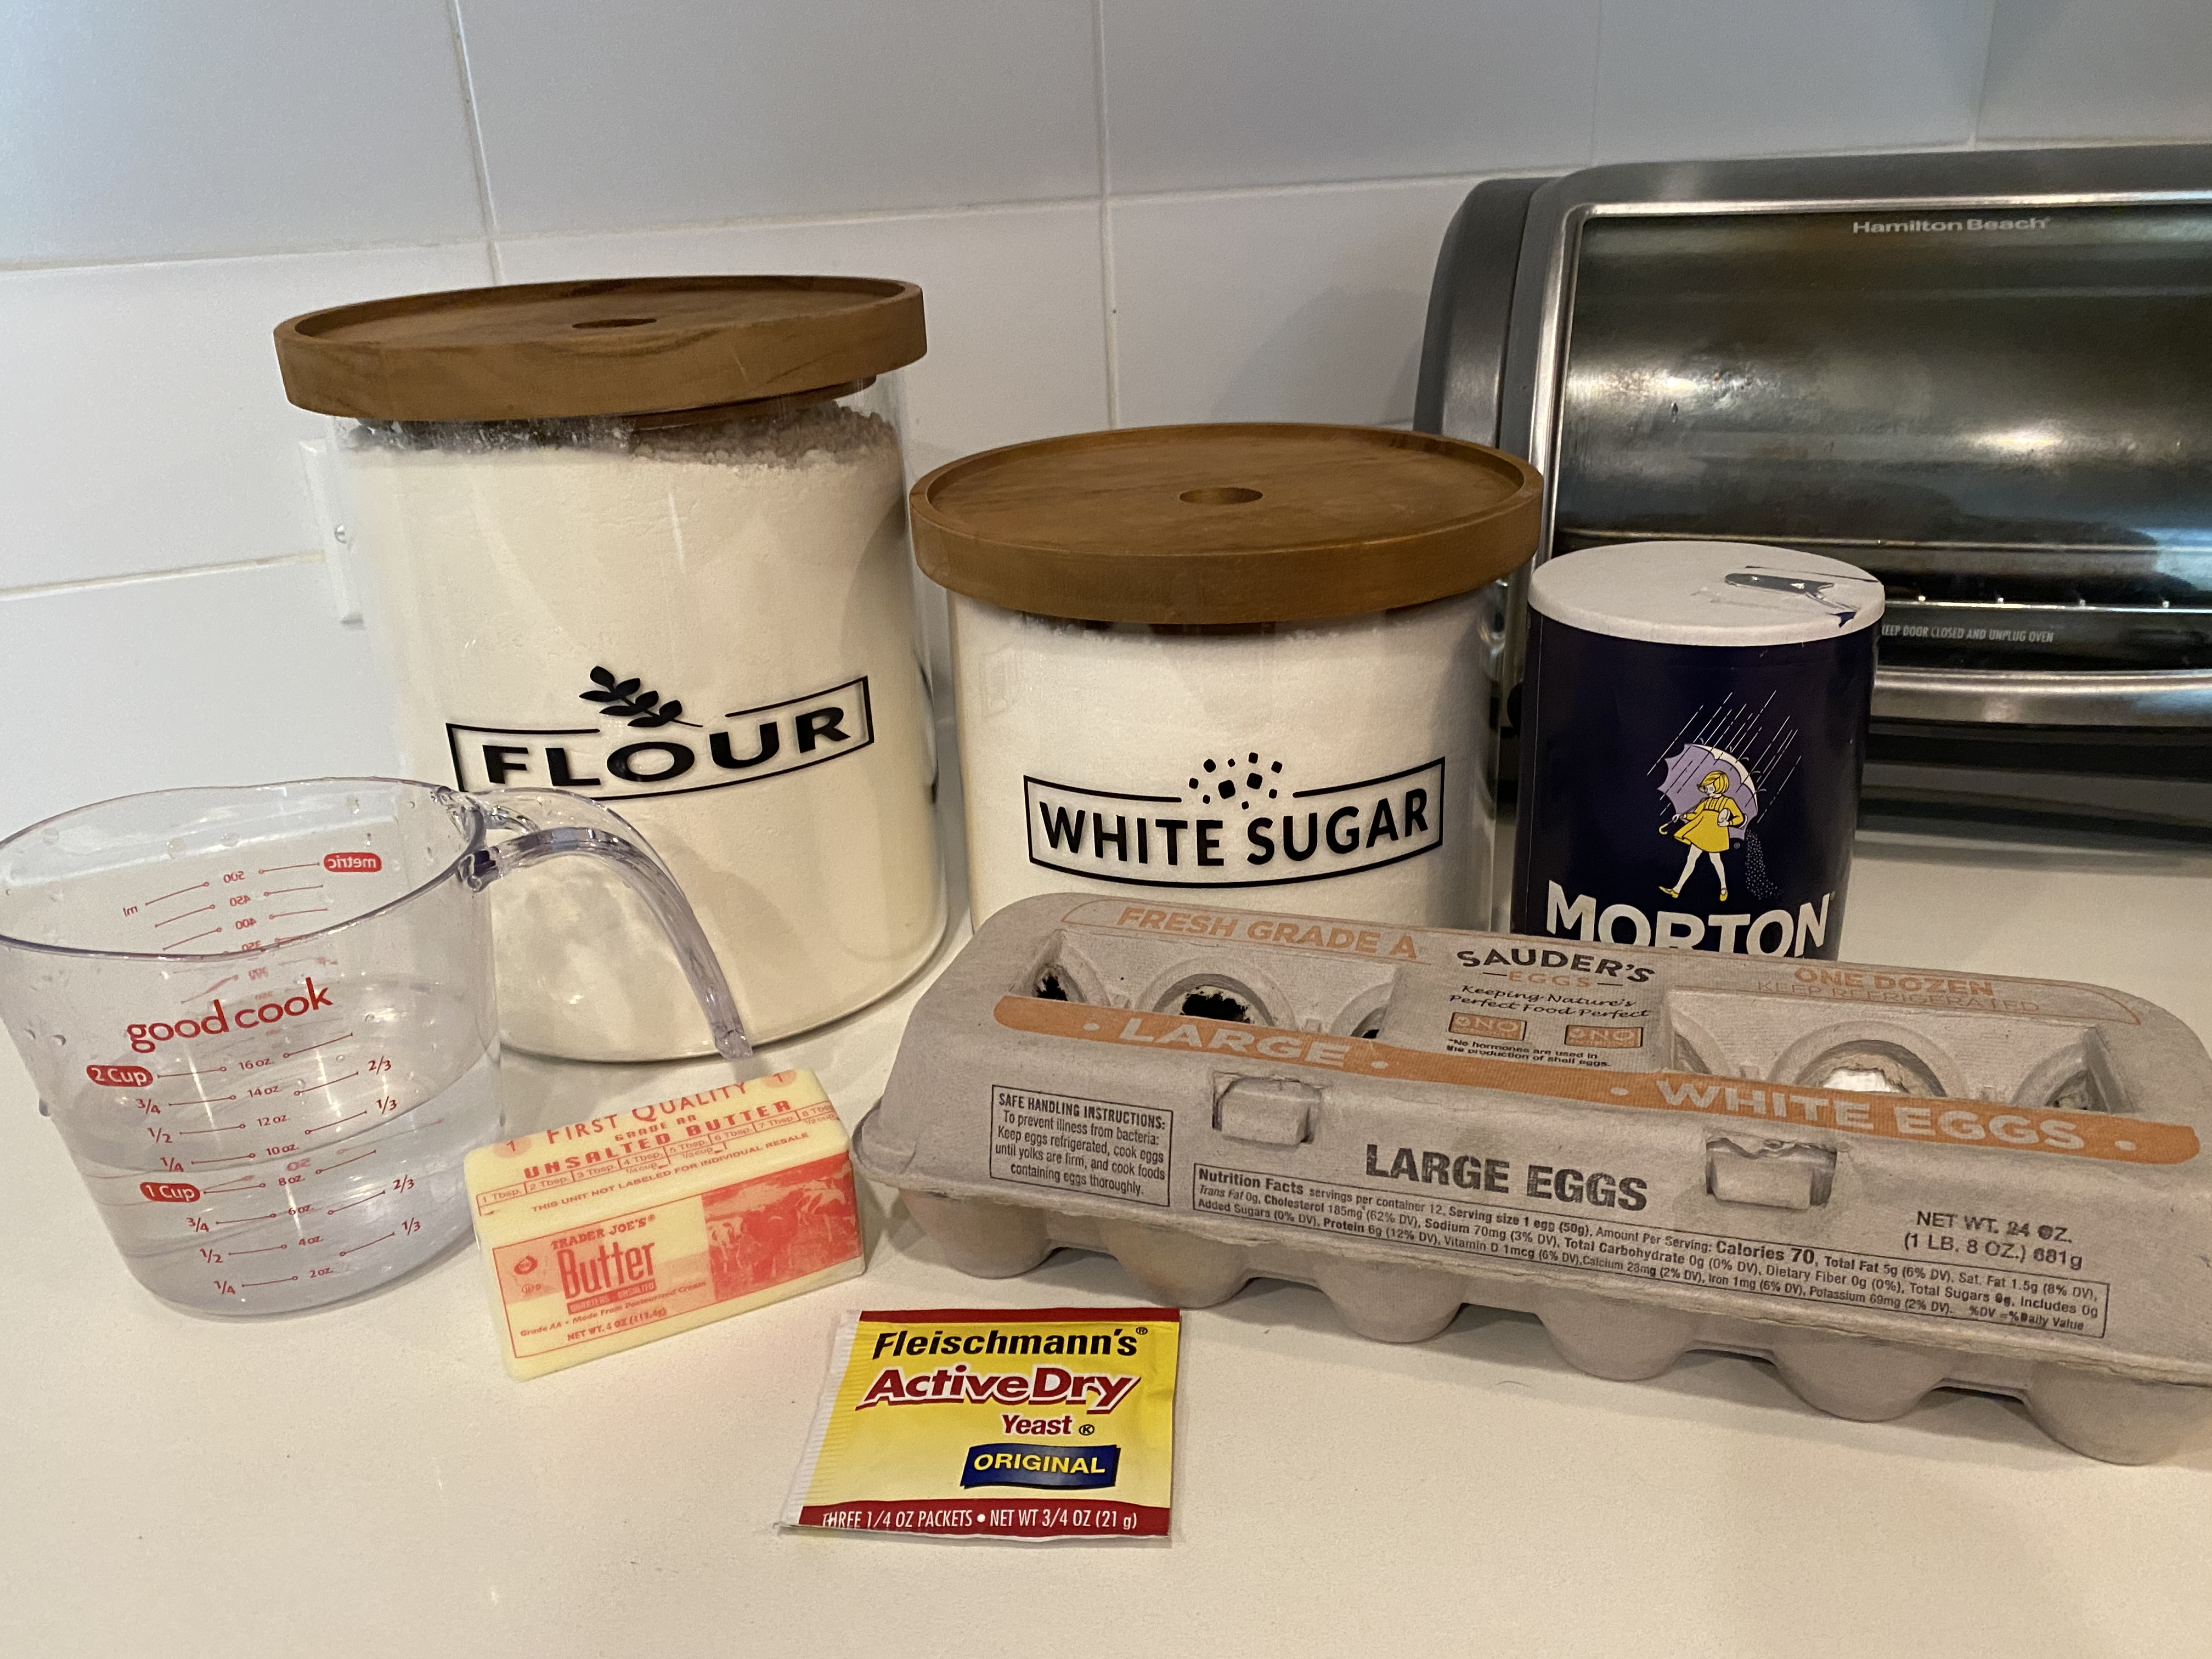

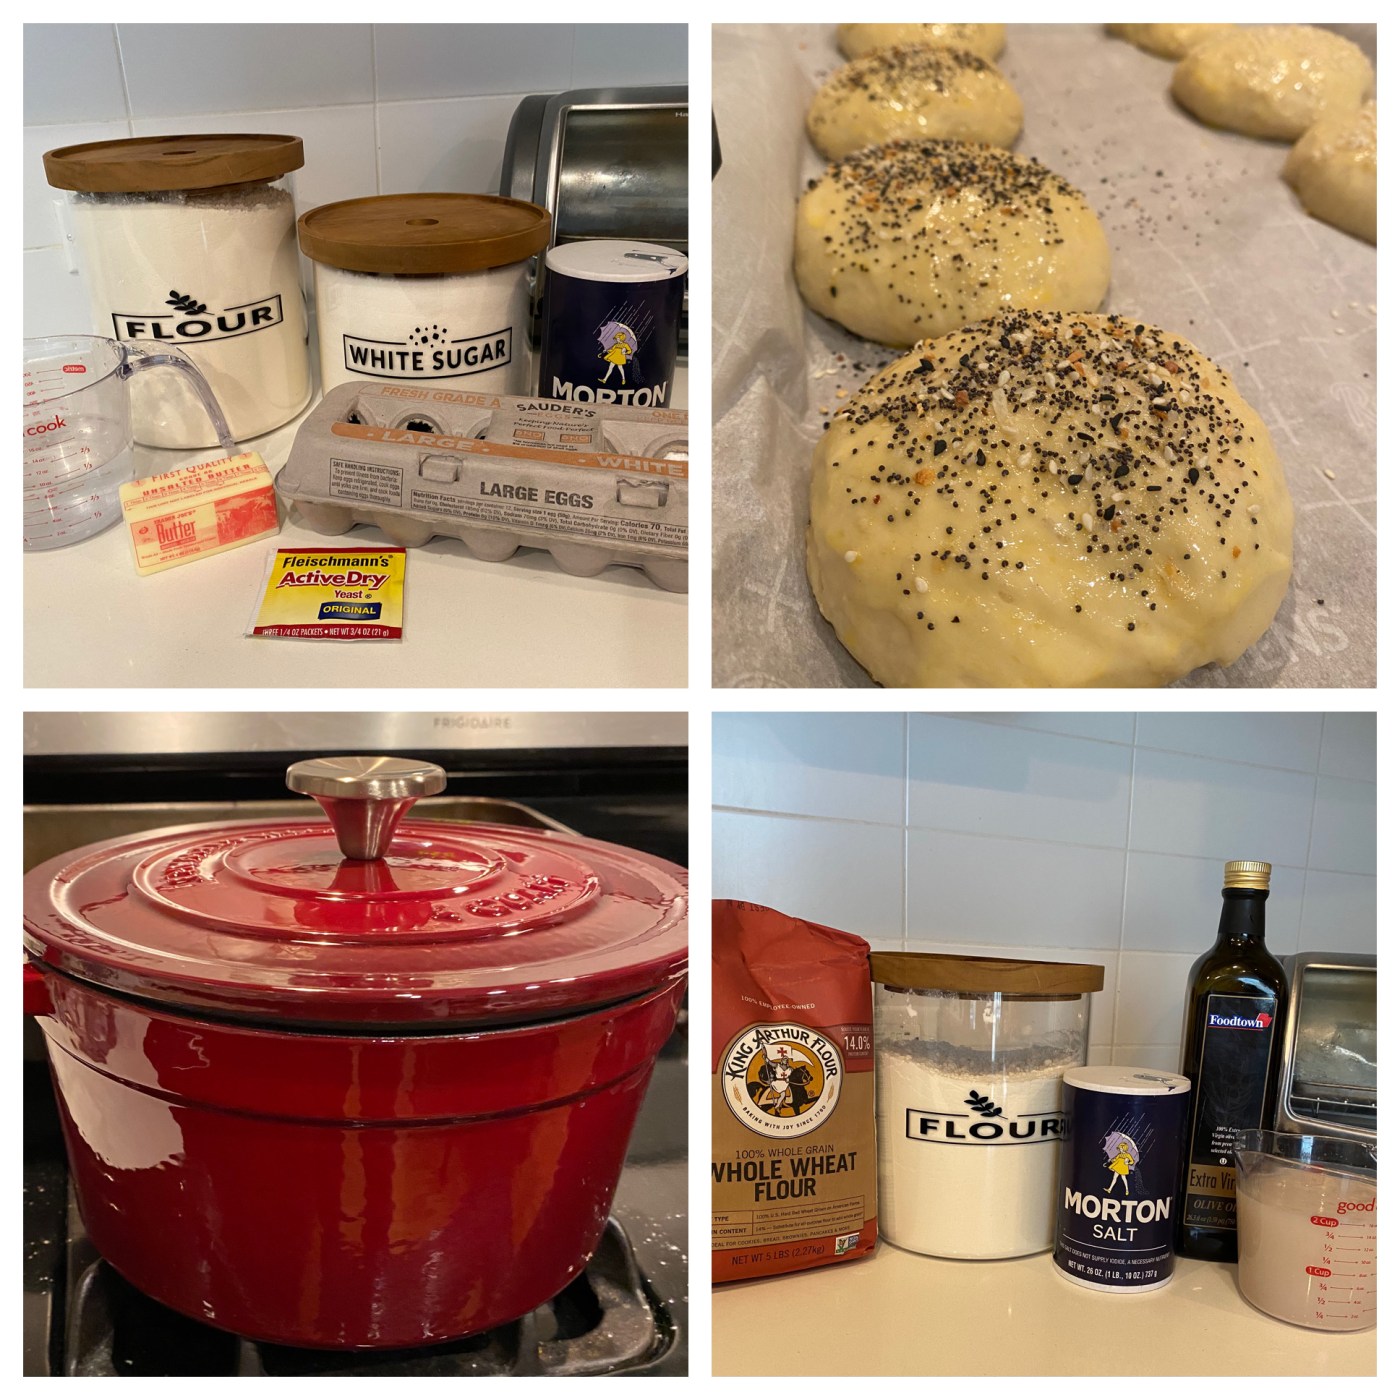
Above you can see that thankfully the recipe didn’t call for too many ingredients and, except sesame seeds which I had to buy, I had everything already in my pantry. Around 3pm on Saturday I started baking. I have tried baking a few breads before and those recipes called for putting the yeast in a bowl of lukewarm water to bloom before adding it to my dry ingredients. For this recipe though, you put everything into the bowl together and mix it all up.
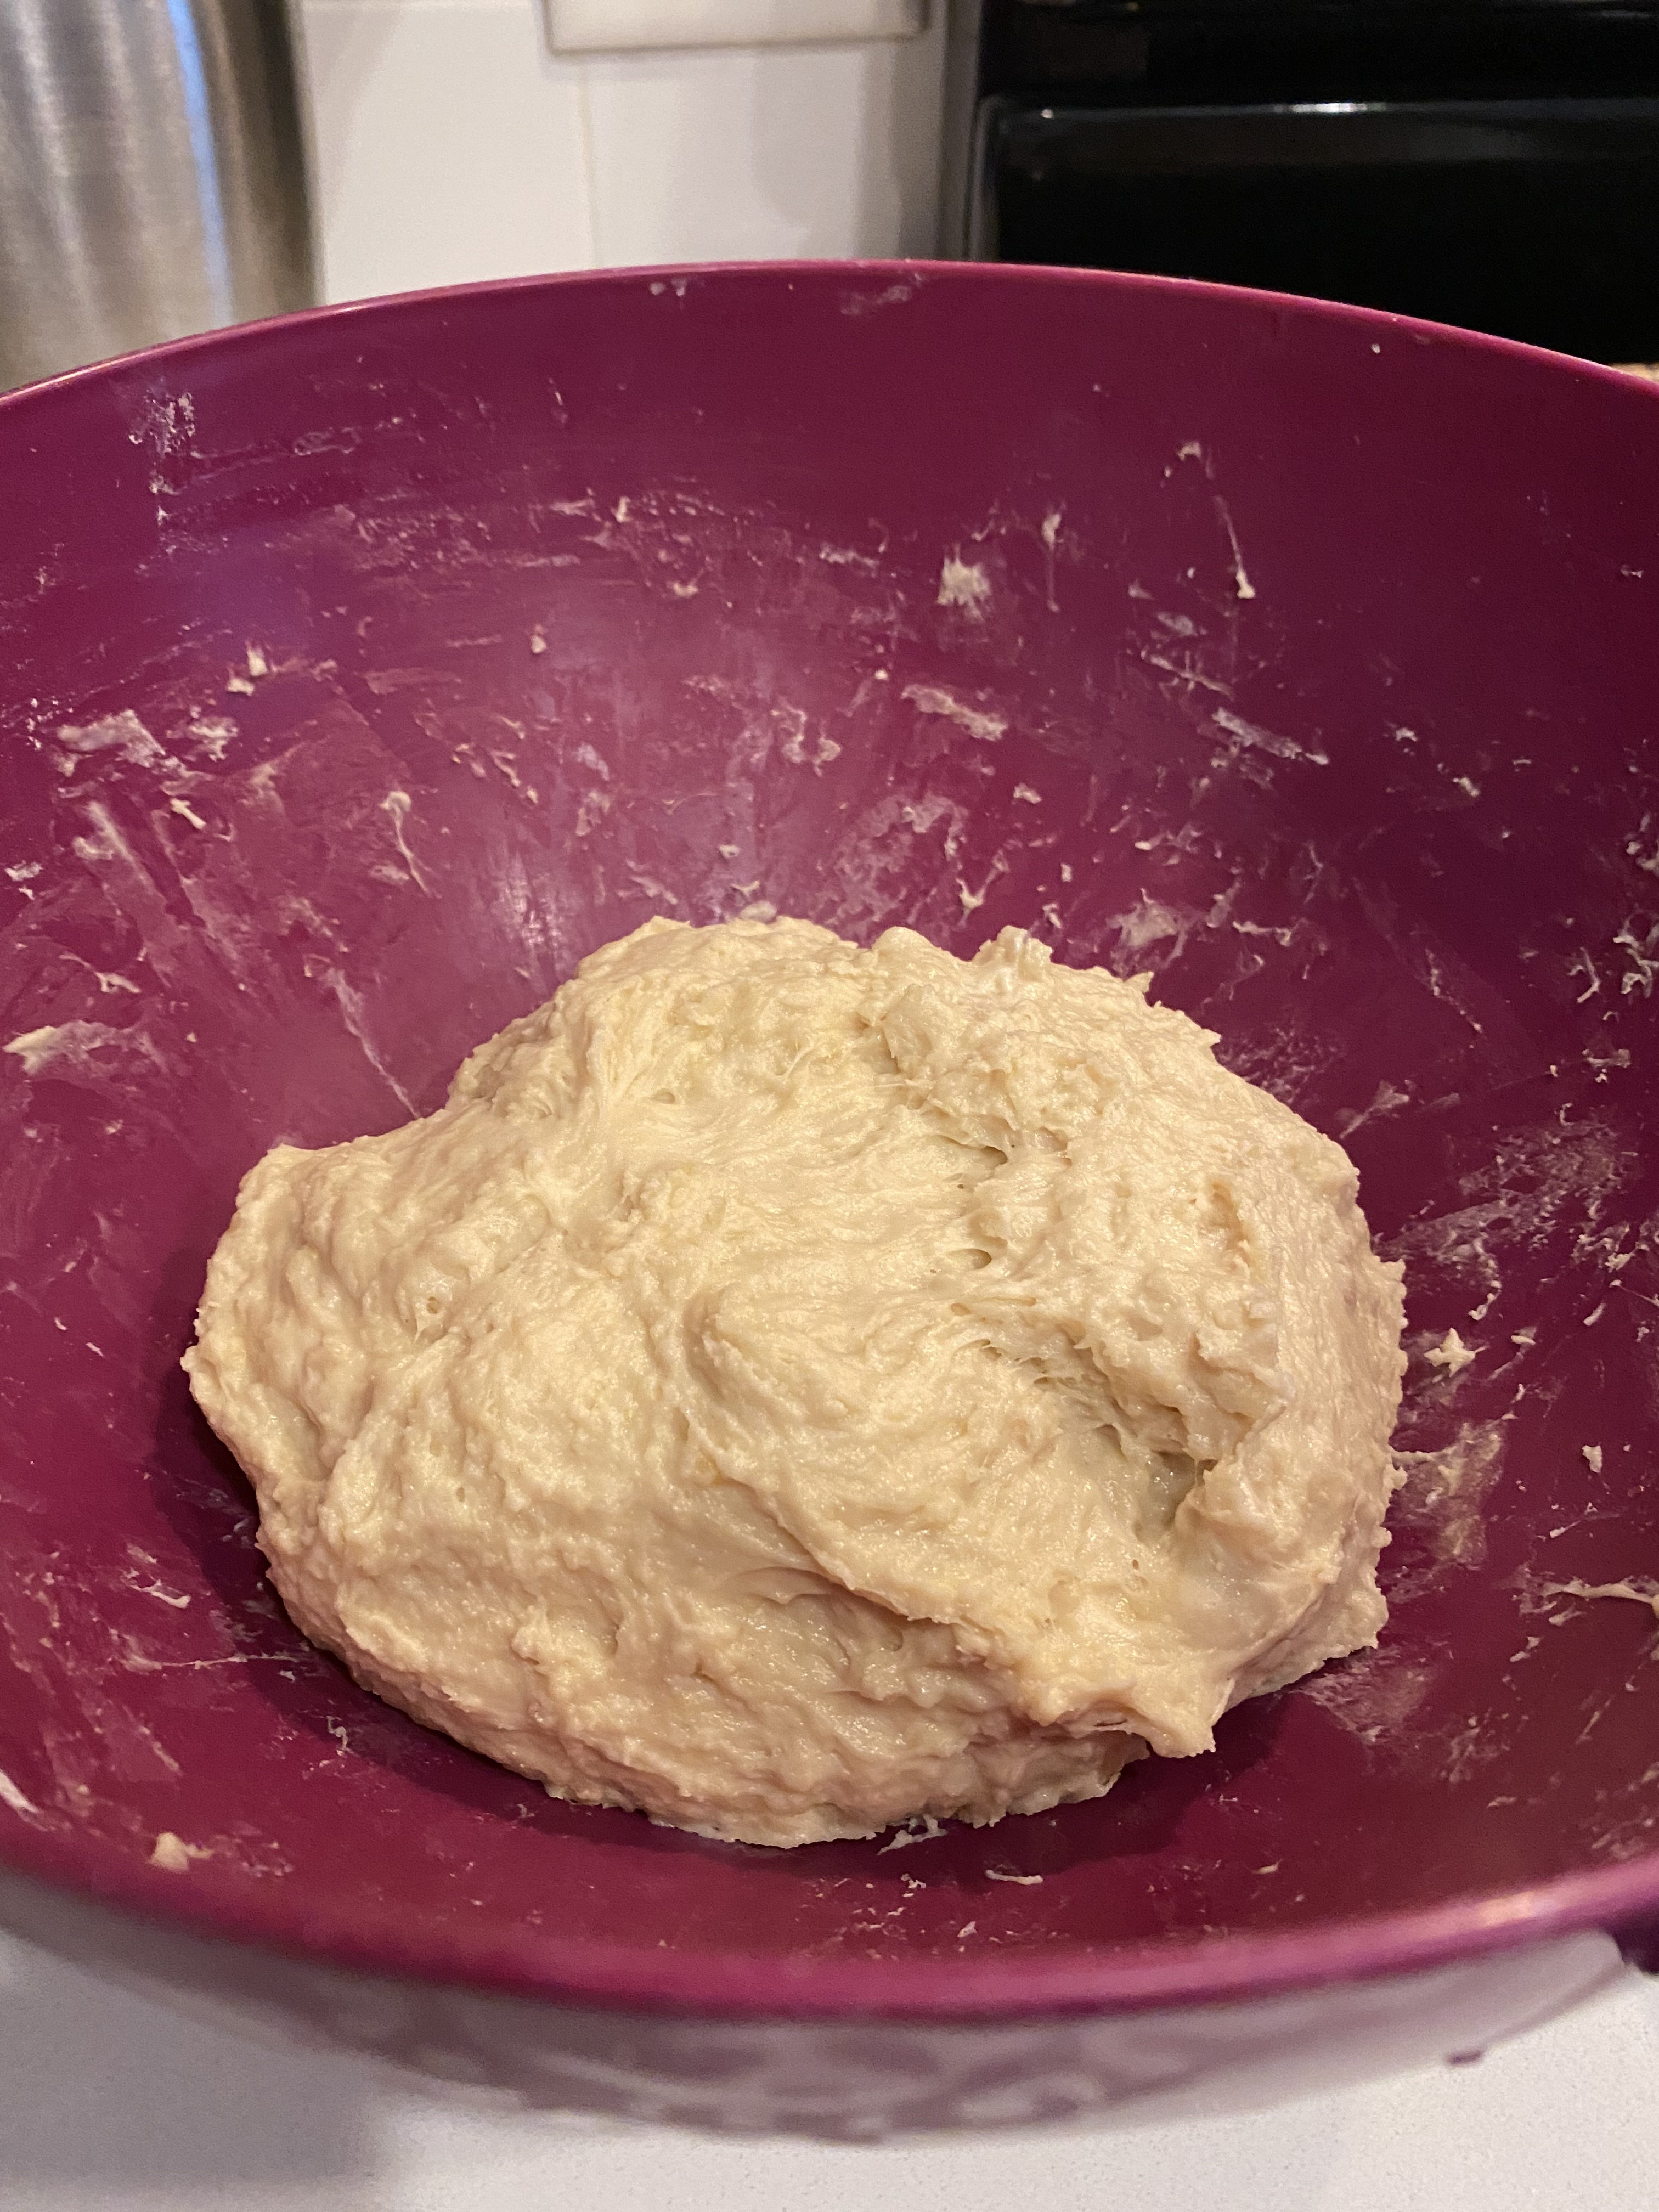
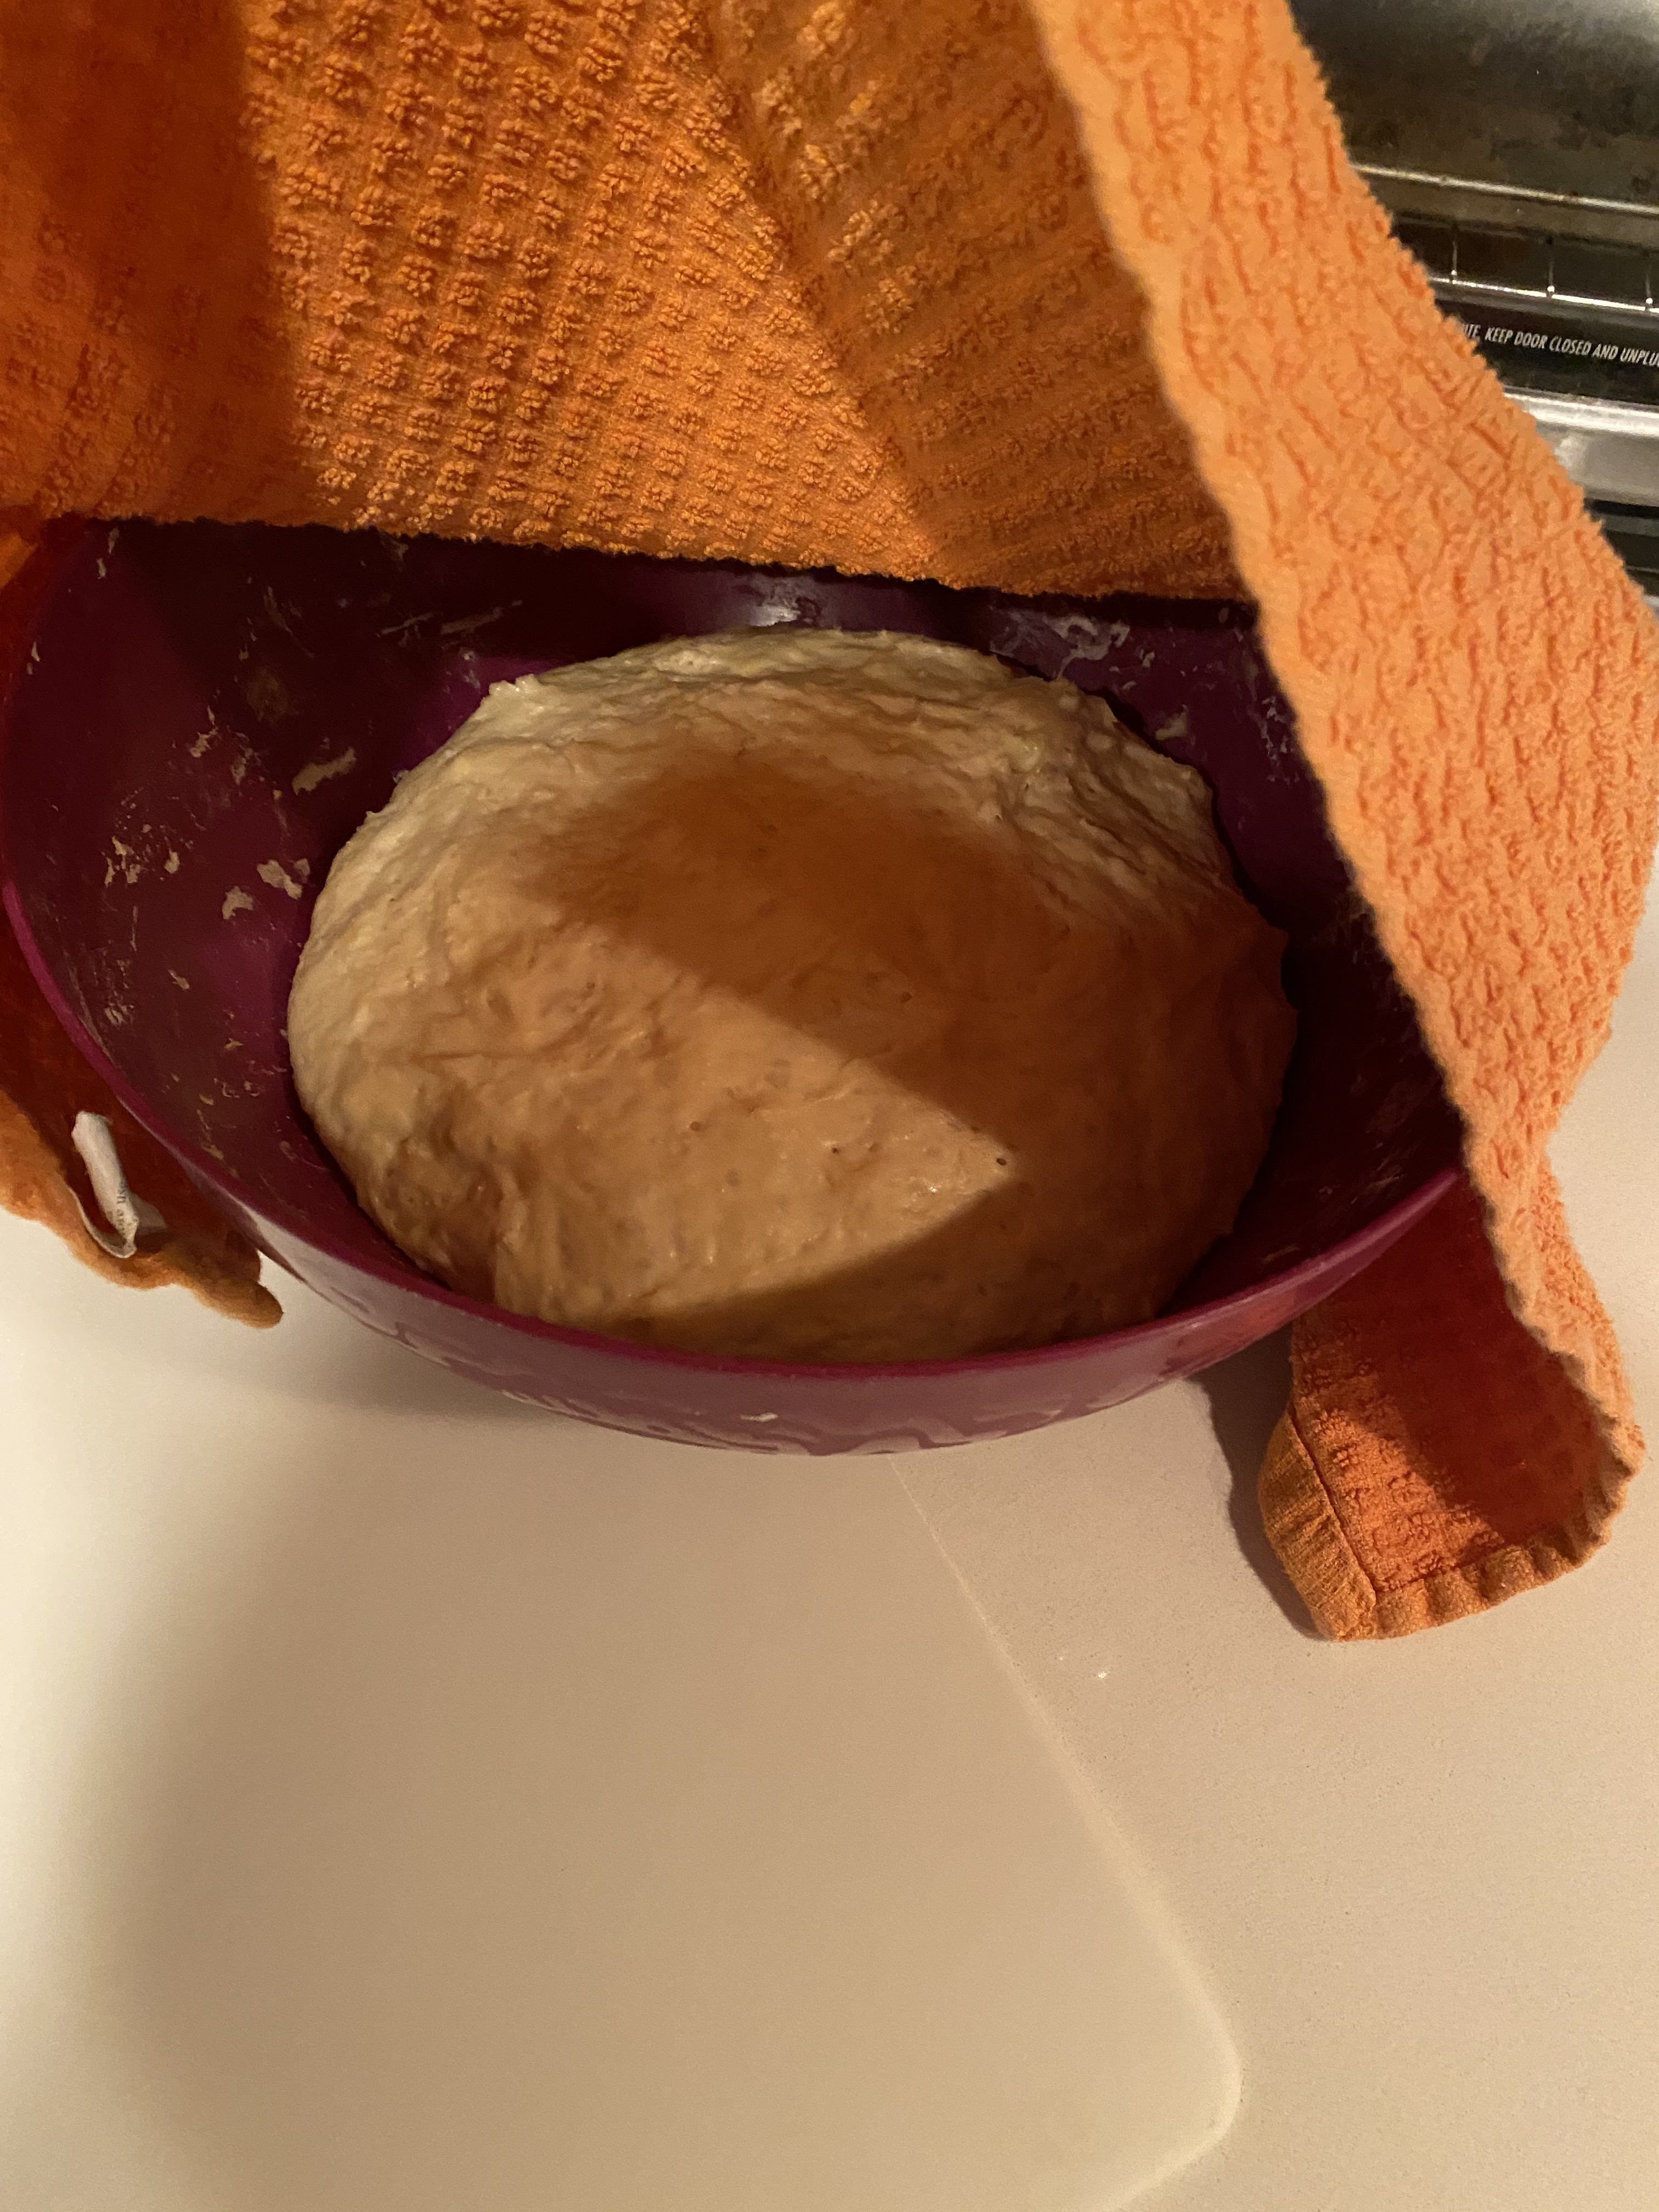
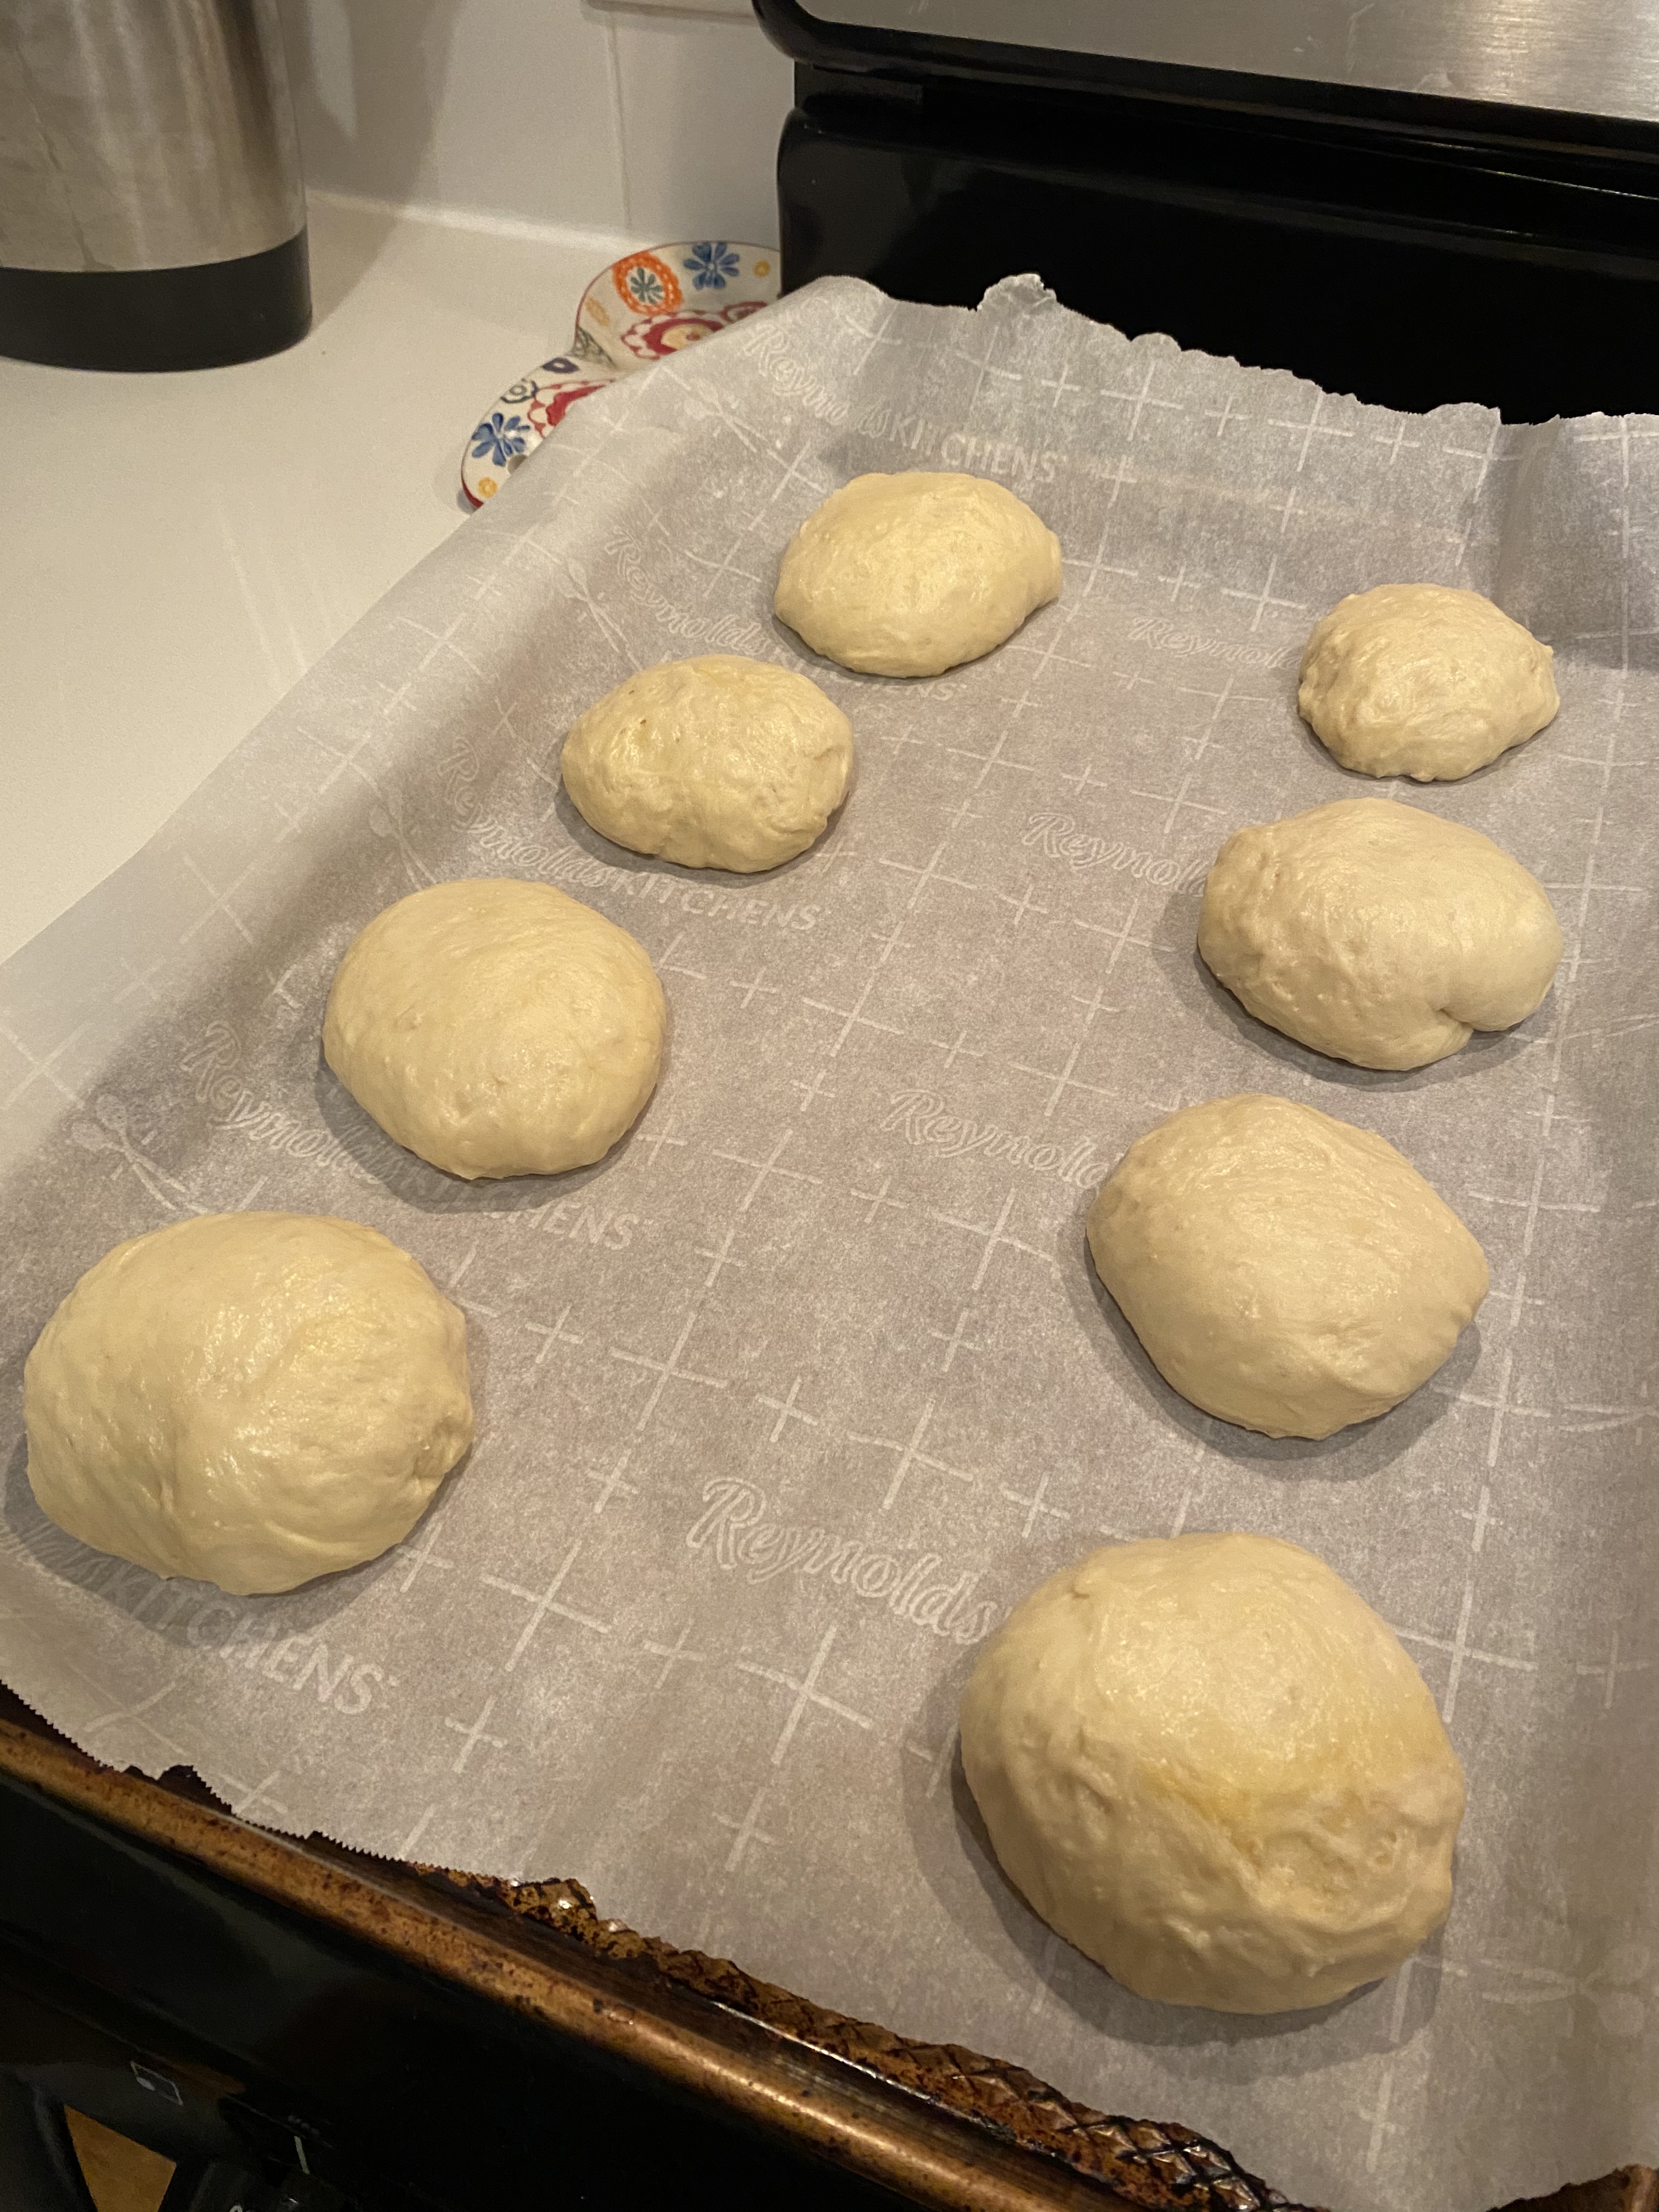
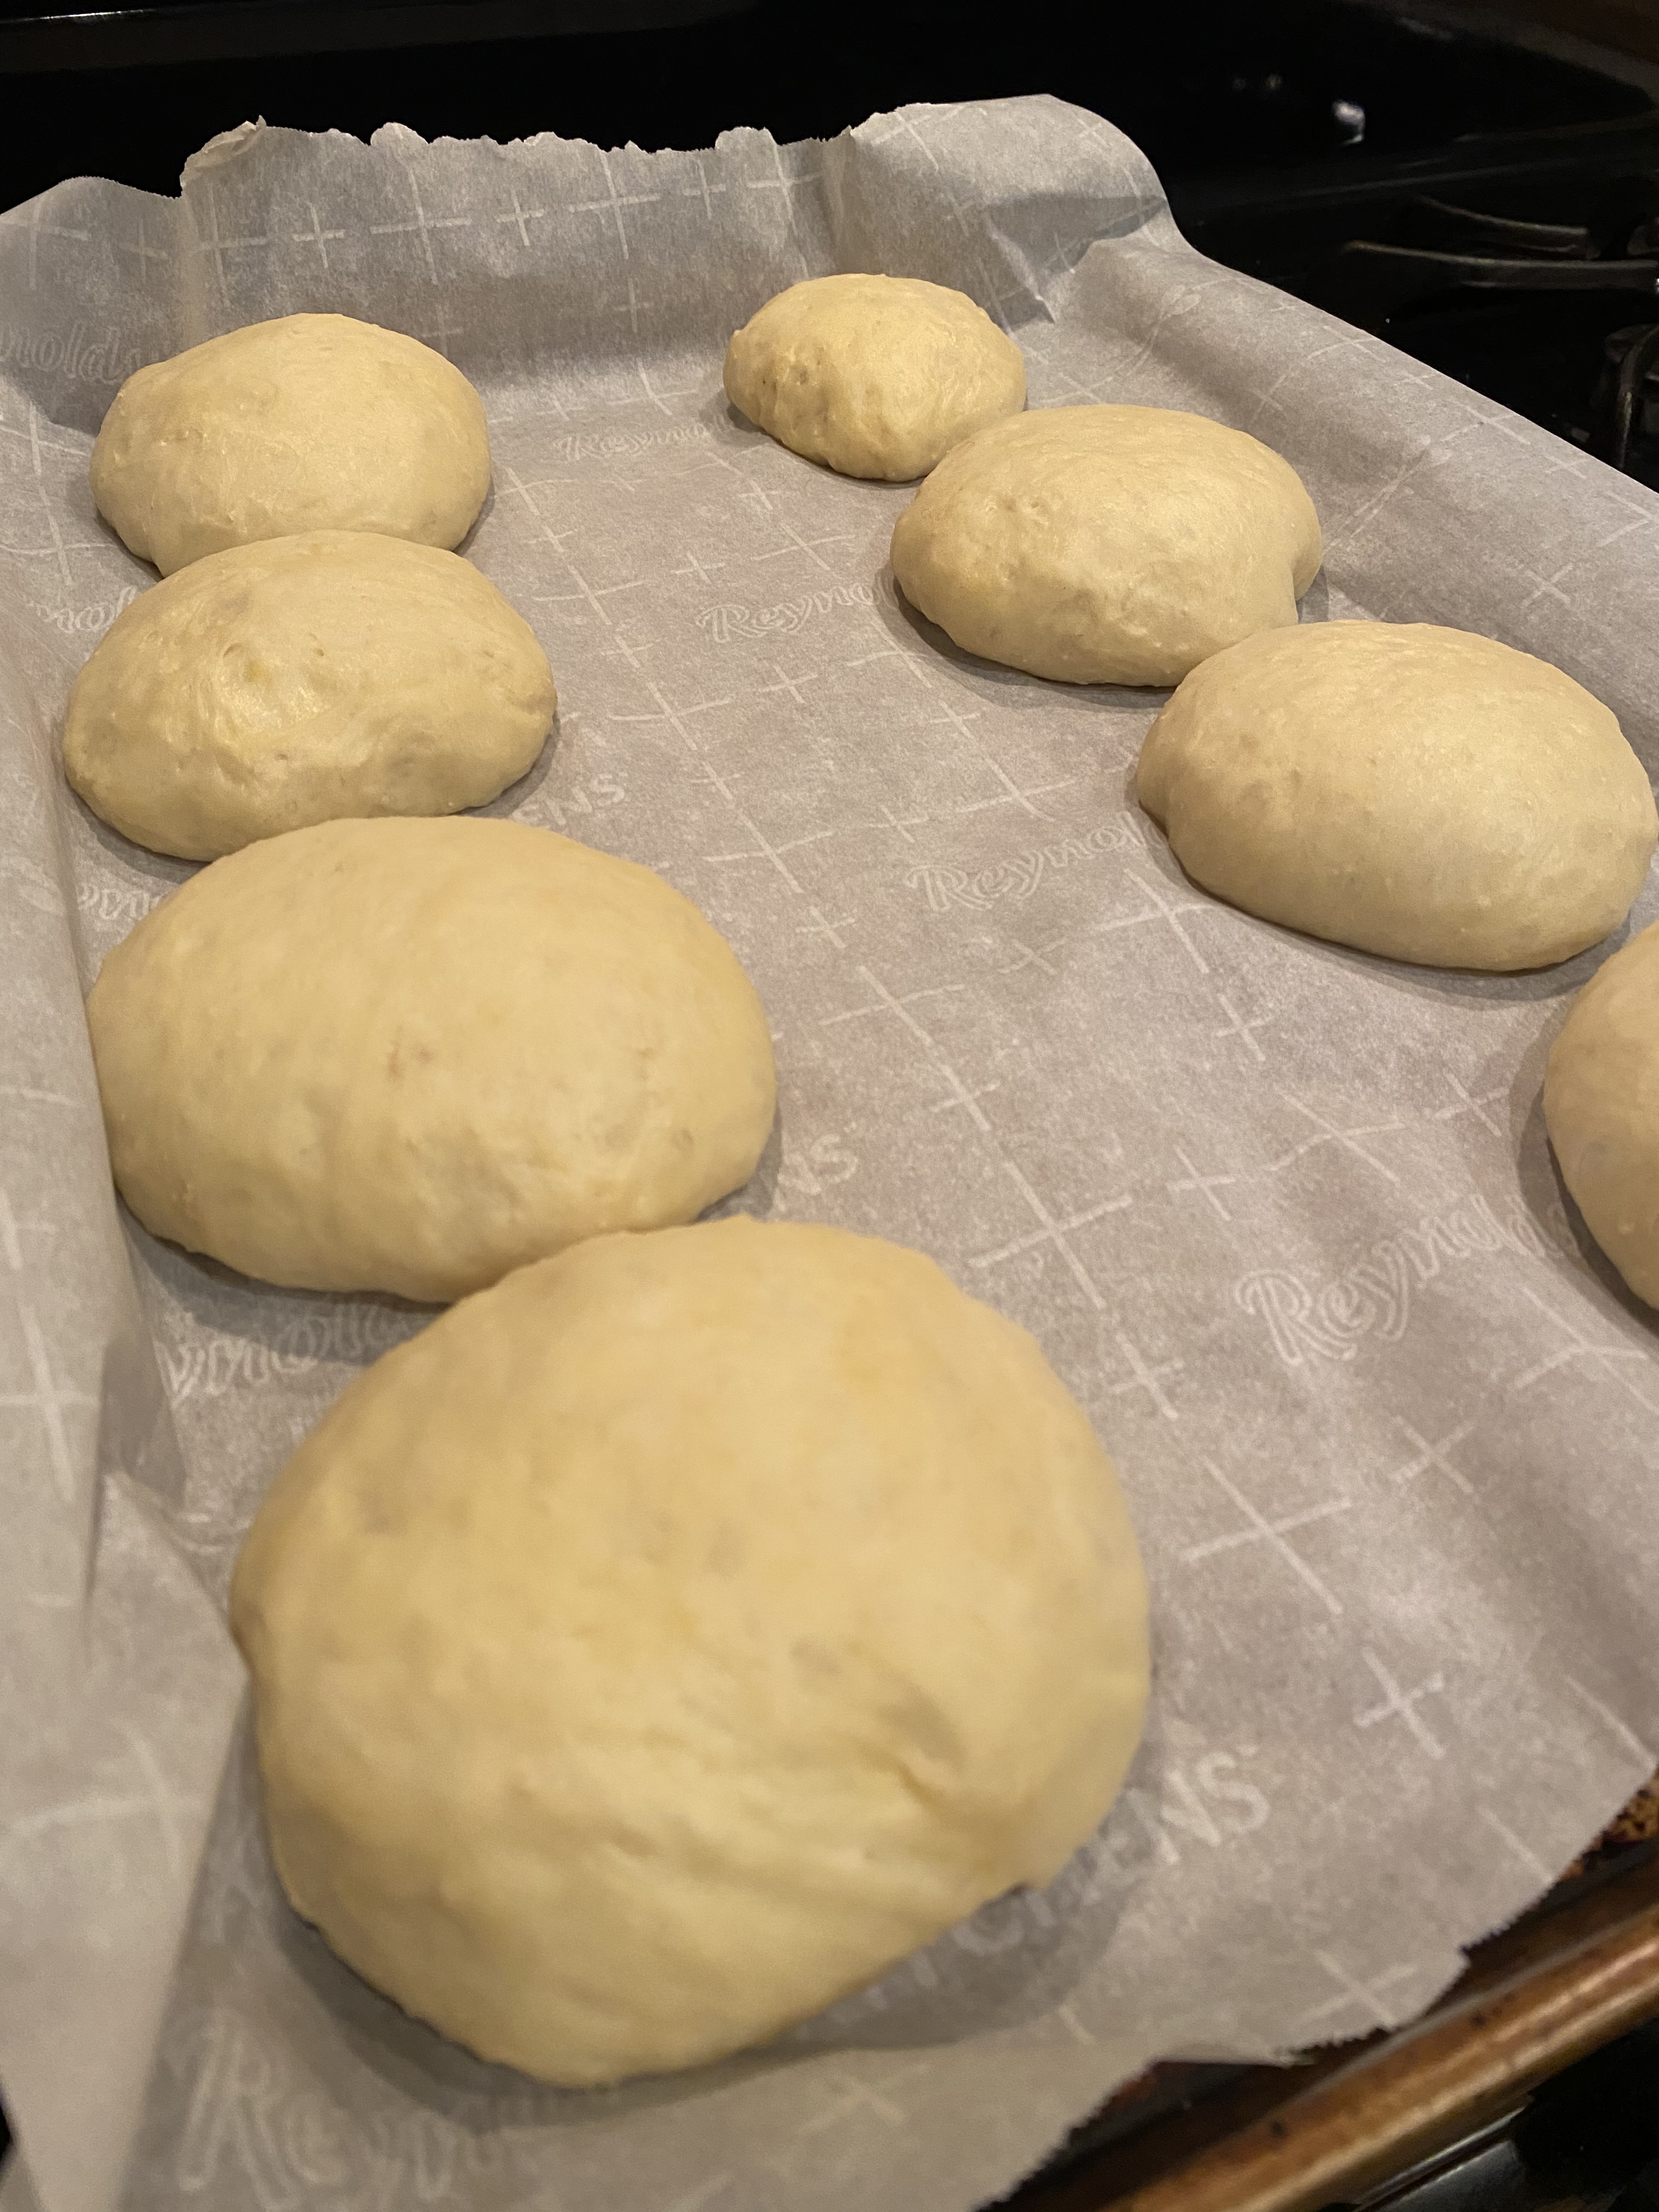
These two photos above show what the dough looked like after the ingredients were all mixed together and then how it looked two hours later. Each time I lift my towel up from my bowl of proofed dough, I always get such a sense of joy seeing how much it has grown. After the first proof, I separated out my dough into 8 segments and rolled them up into smooth balls. The website says to make sure there are no creases at this step or the buns will come out with imperfections. I don’t know if these look perfect but I don’t think they look too horrible. After I formed the balls of dough, I covered them up again with a towel on my baking sheet and let them rise for another hour. Below, the photo on the left is the unproved dough and on the right you can see they are a bit bigger and smoother on top after they proved.
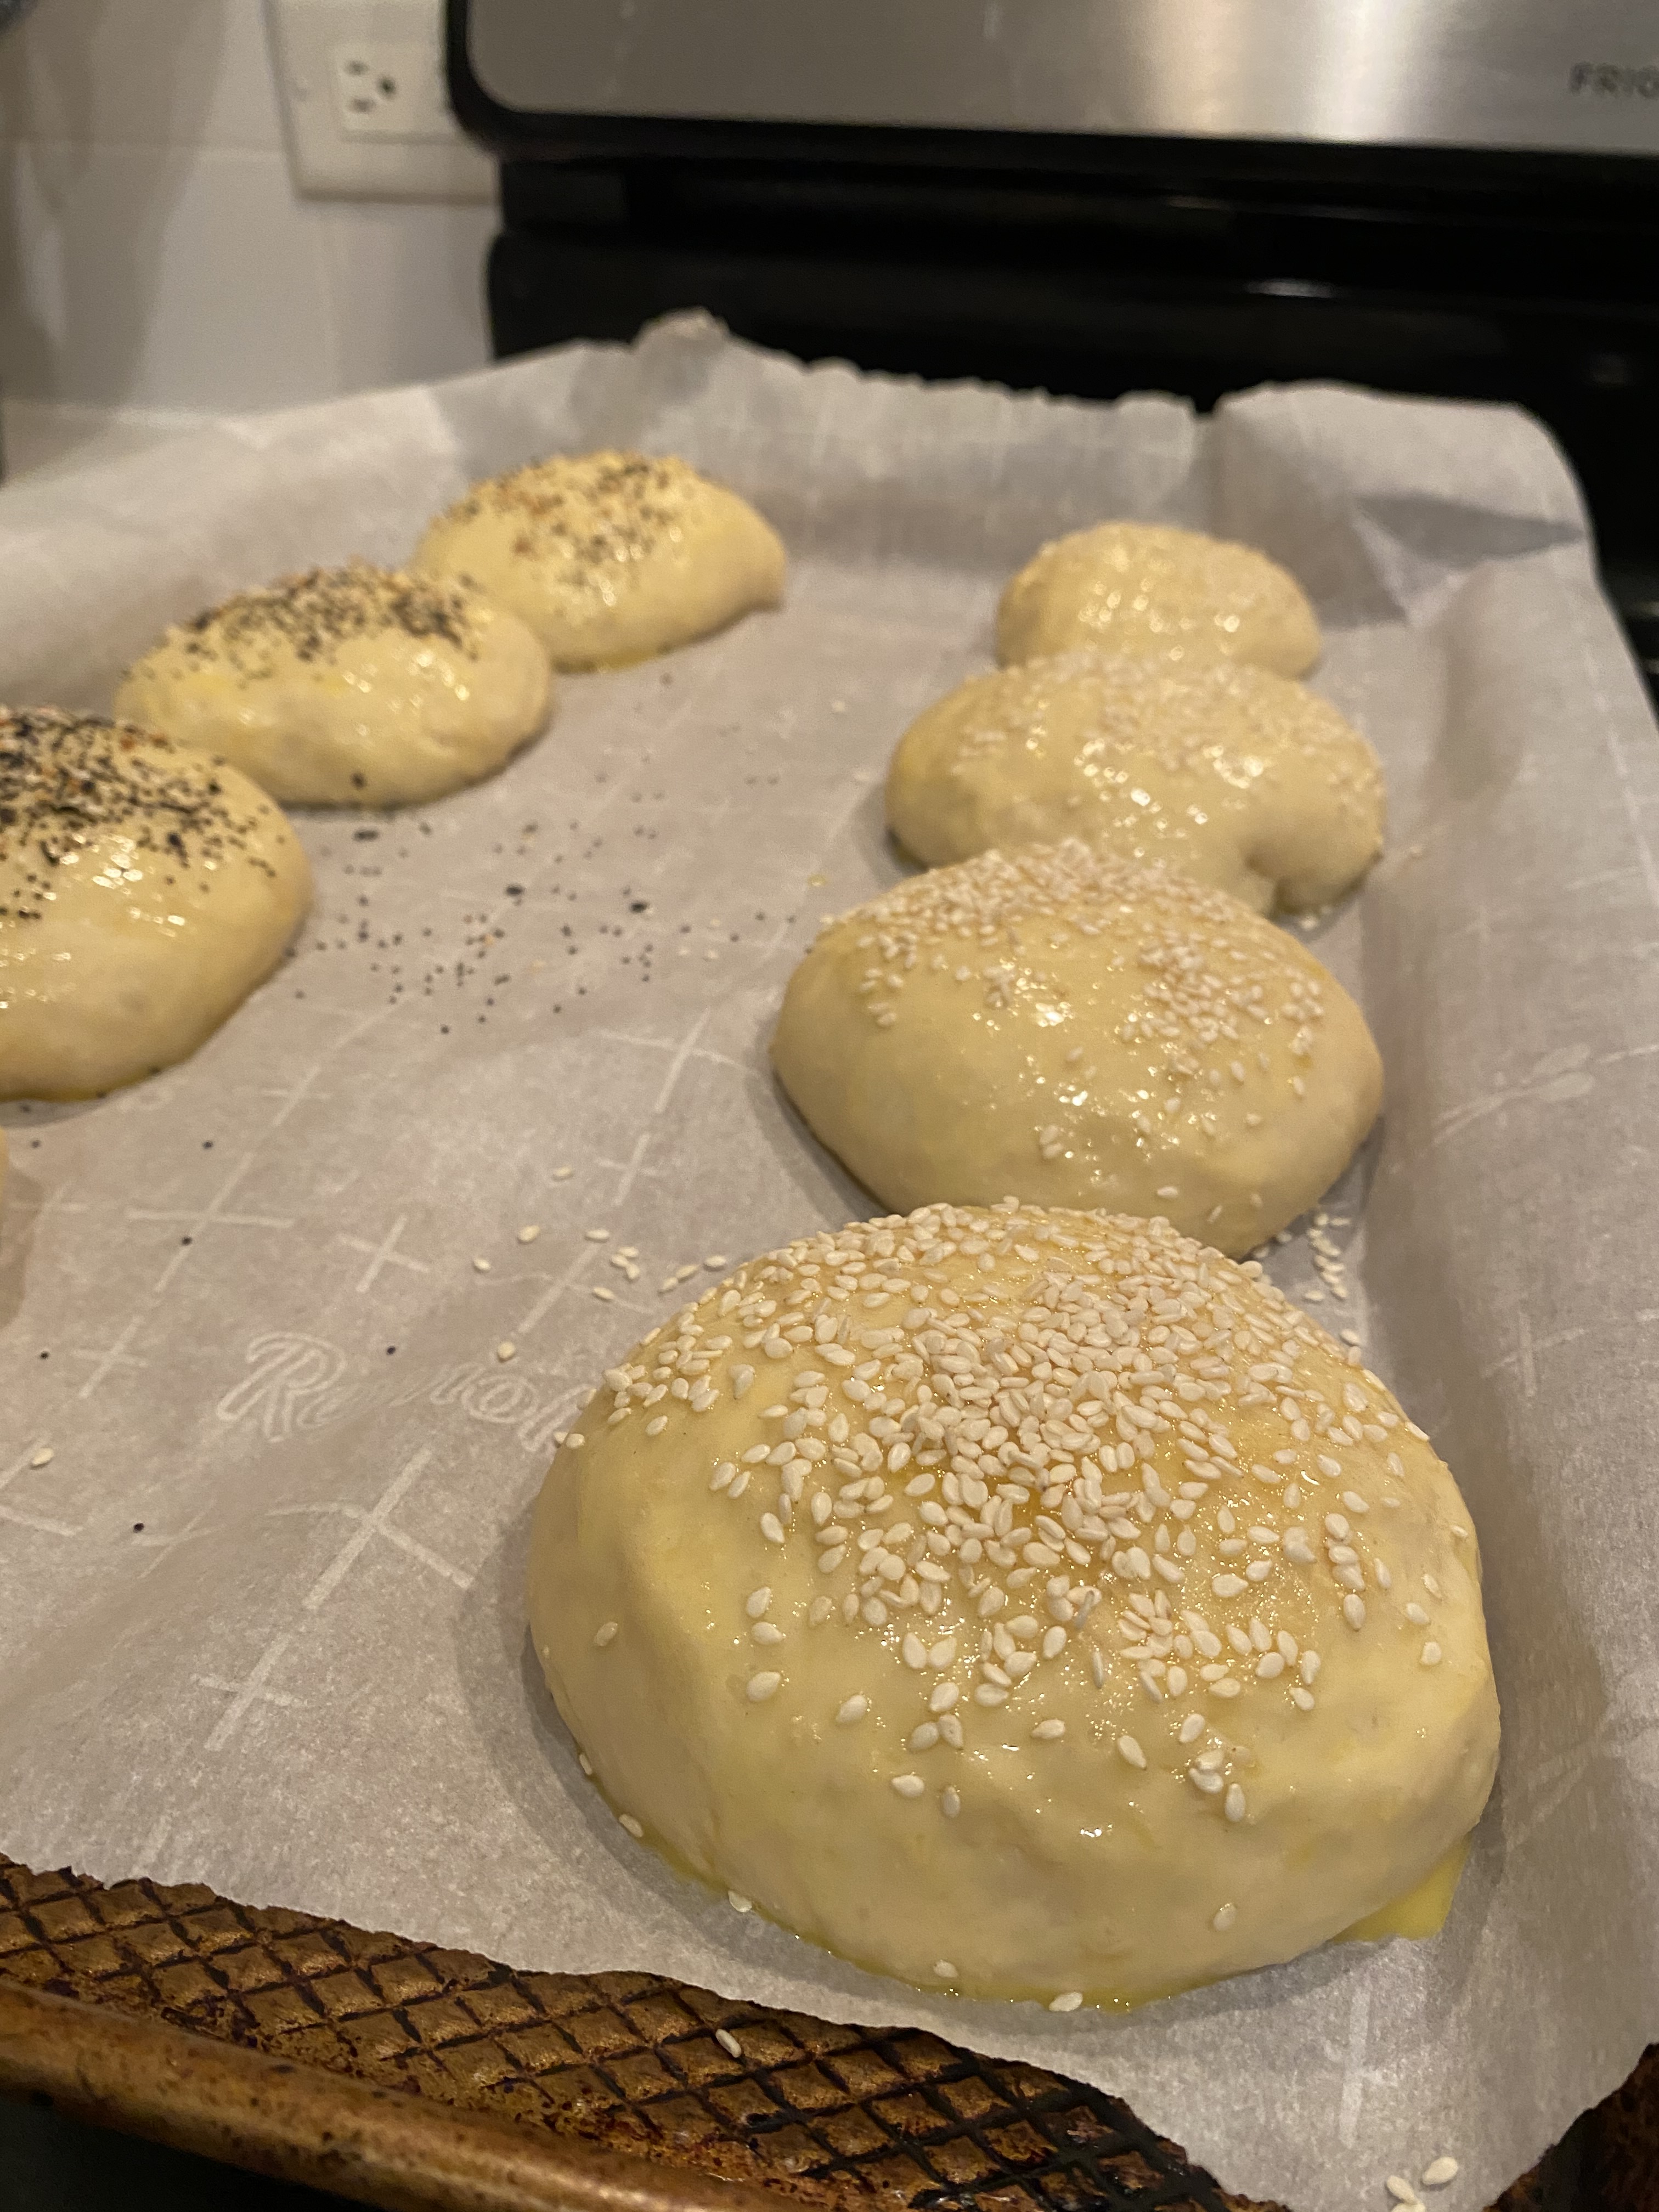
After this final proof came the most fun part. I brushed egg wash on top and covered half of the tray with the traditional sesame seeds and on the other half I used Everything But the Bagel seasoning and popped them in the oven at 375 degrees. The recipe says they should be done within 15-18 minutes in the oven but mine took closer to 20-25 minutes to be the golden brown color all over that I wanted. I was done right around 8:30pm so about 5.5 hours after I started.
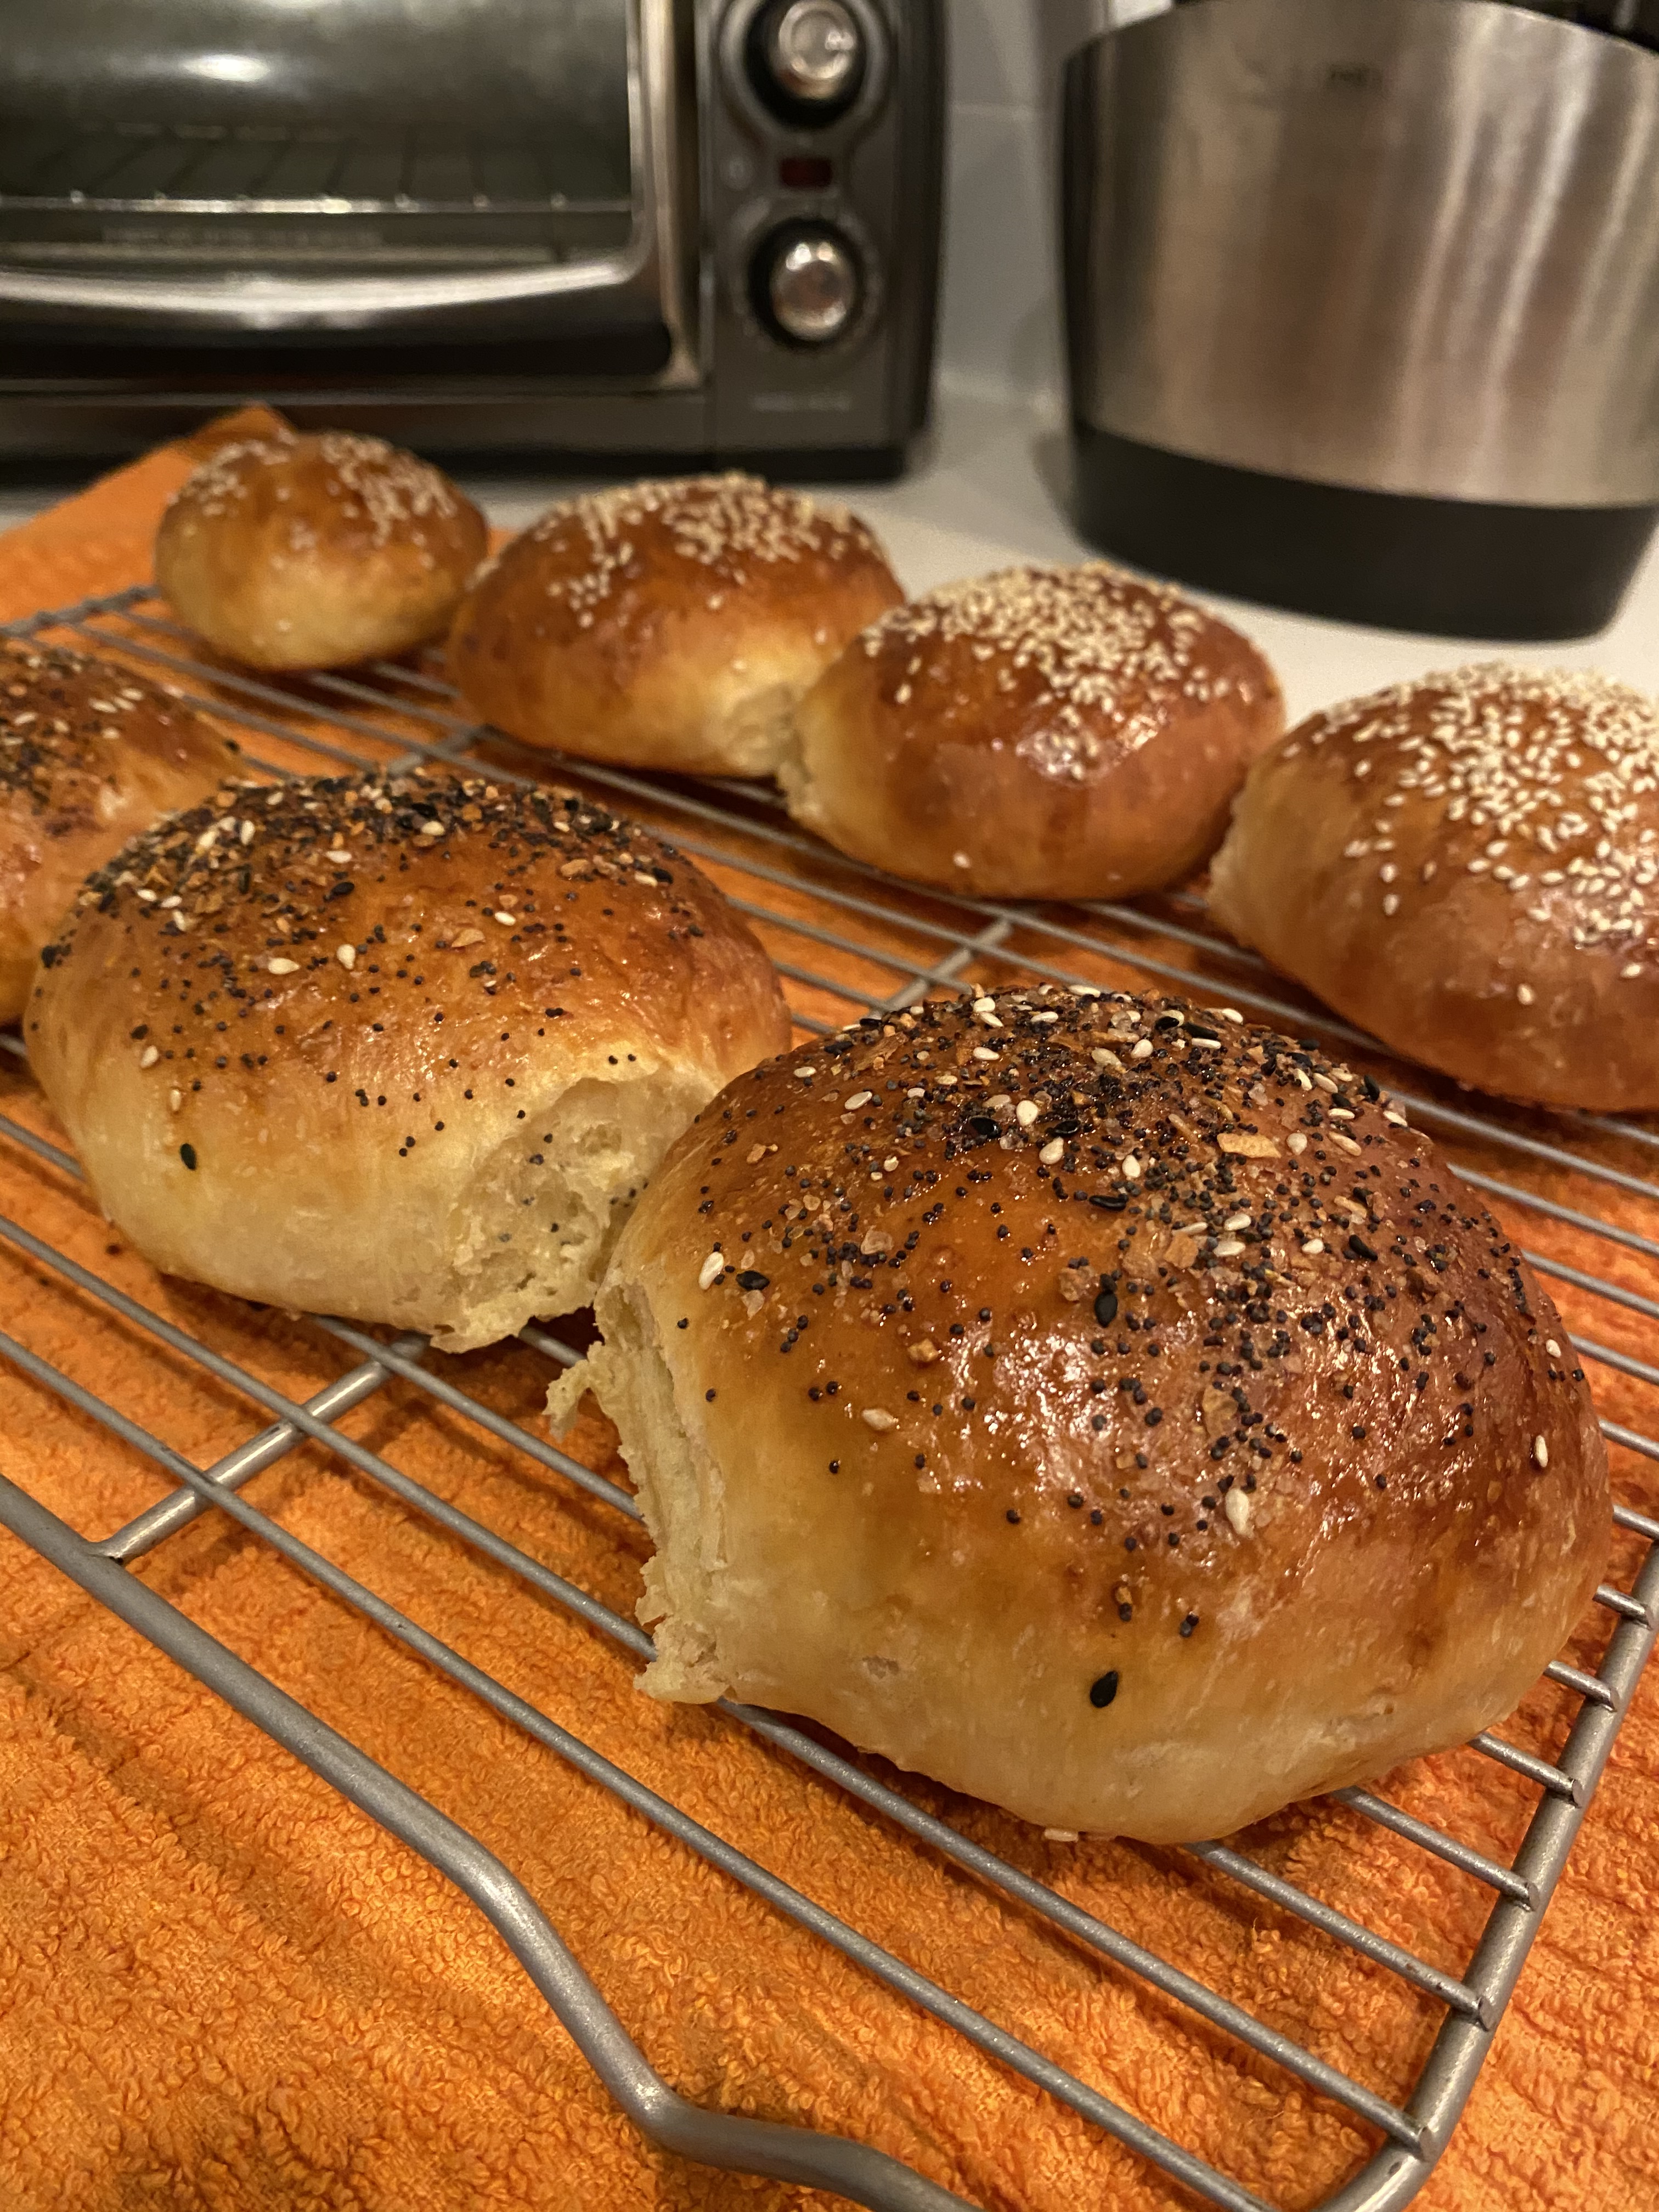
I always feel a level of anxiety when baking bread that I have either over-proofed or under-proofed my dough. I have watched all of The Great British Bakeoff that’s available on Netflix multiple times and I know the look that Paul Hollywood gives a baker whenever those calamities happen during the judging of the bread. The photo below shows the moment of truth!

The buns actually did turn out to be quite beautiful and look pretty similar to photos in the King Arthur Flour Recipe! If I pressed on the centers, they weren’t doughy and they tasted great. I made us Turkey Sloppy Joes (to surprise Pete cause he loves them) and as a treat to celebrate the weekend. I used this recipe which was quick to make (which was great since I was tired from baking) and listed ingredients that I already had in my refrigerator and cabinets: https://dinnerthendessert.com/ultimate-sloppy-joes/.

My second bread of the weekend was made in this beauty of a 4qt Dutch Oven. A close friend sent me an amazing deal from Macy’s over Black Friday weekend that had it on discount with $110 off the original cost. Did I really need this pot? To be completely honest…probably not, but I have been wanting one for awhile to make breads and stews in so I couldn’t pass up such a great deal. I did some research and chose this recipe to inaugurate the dutch oven to my kitchen: https://tasty.co/recipe/homemade-dutch-oven-bread
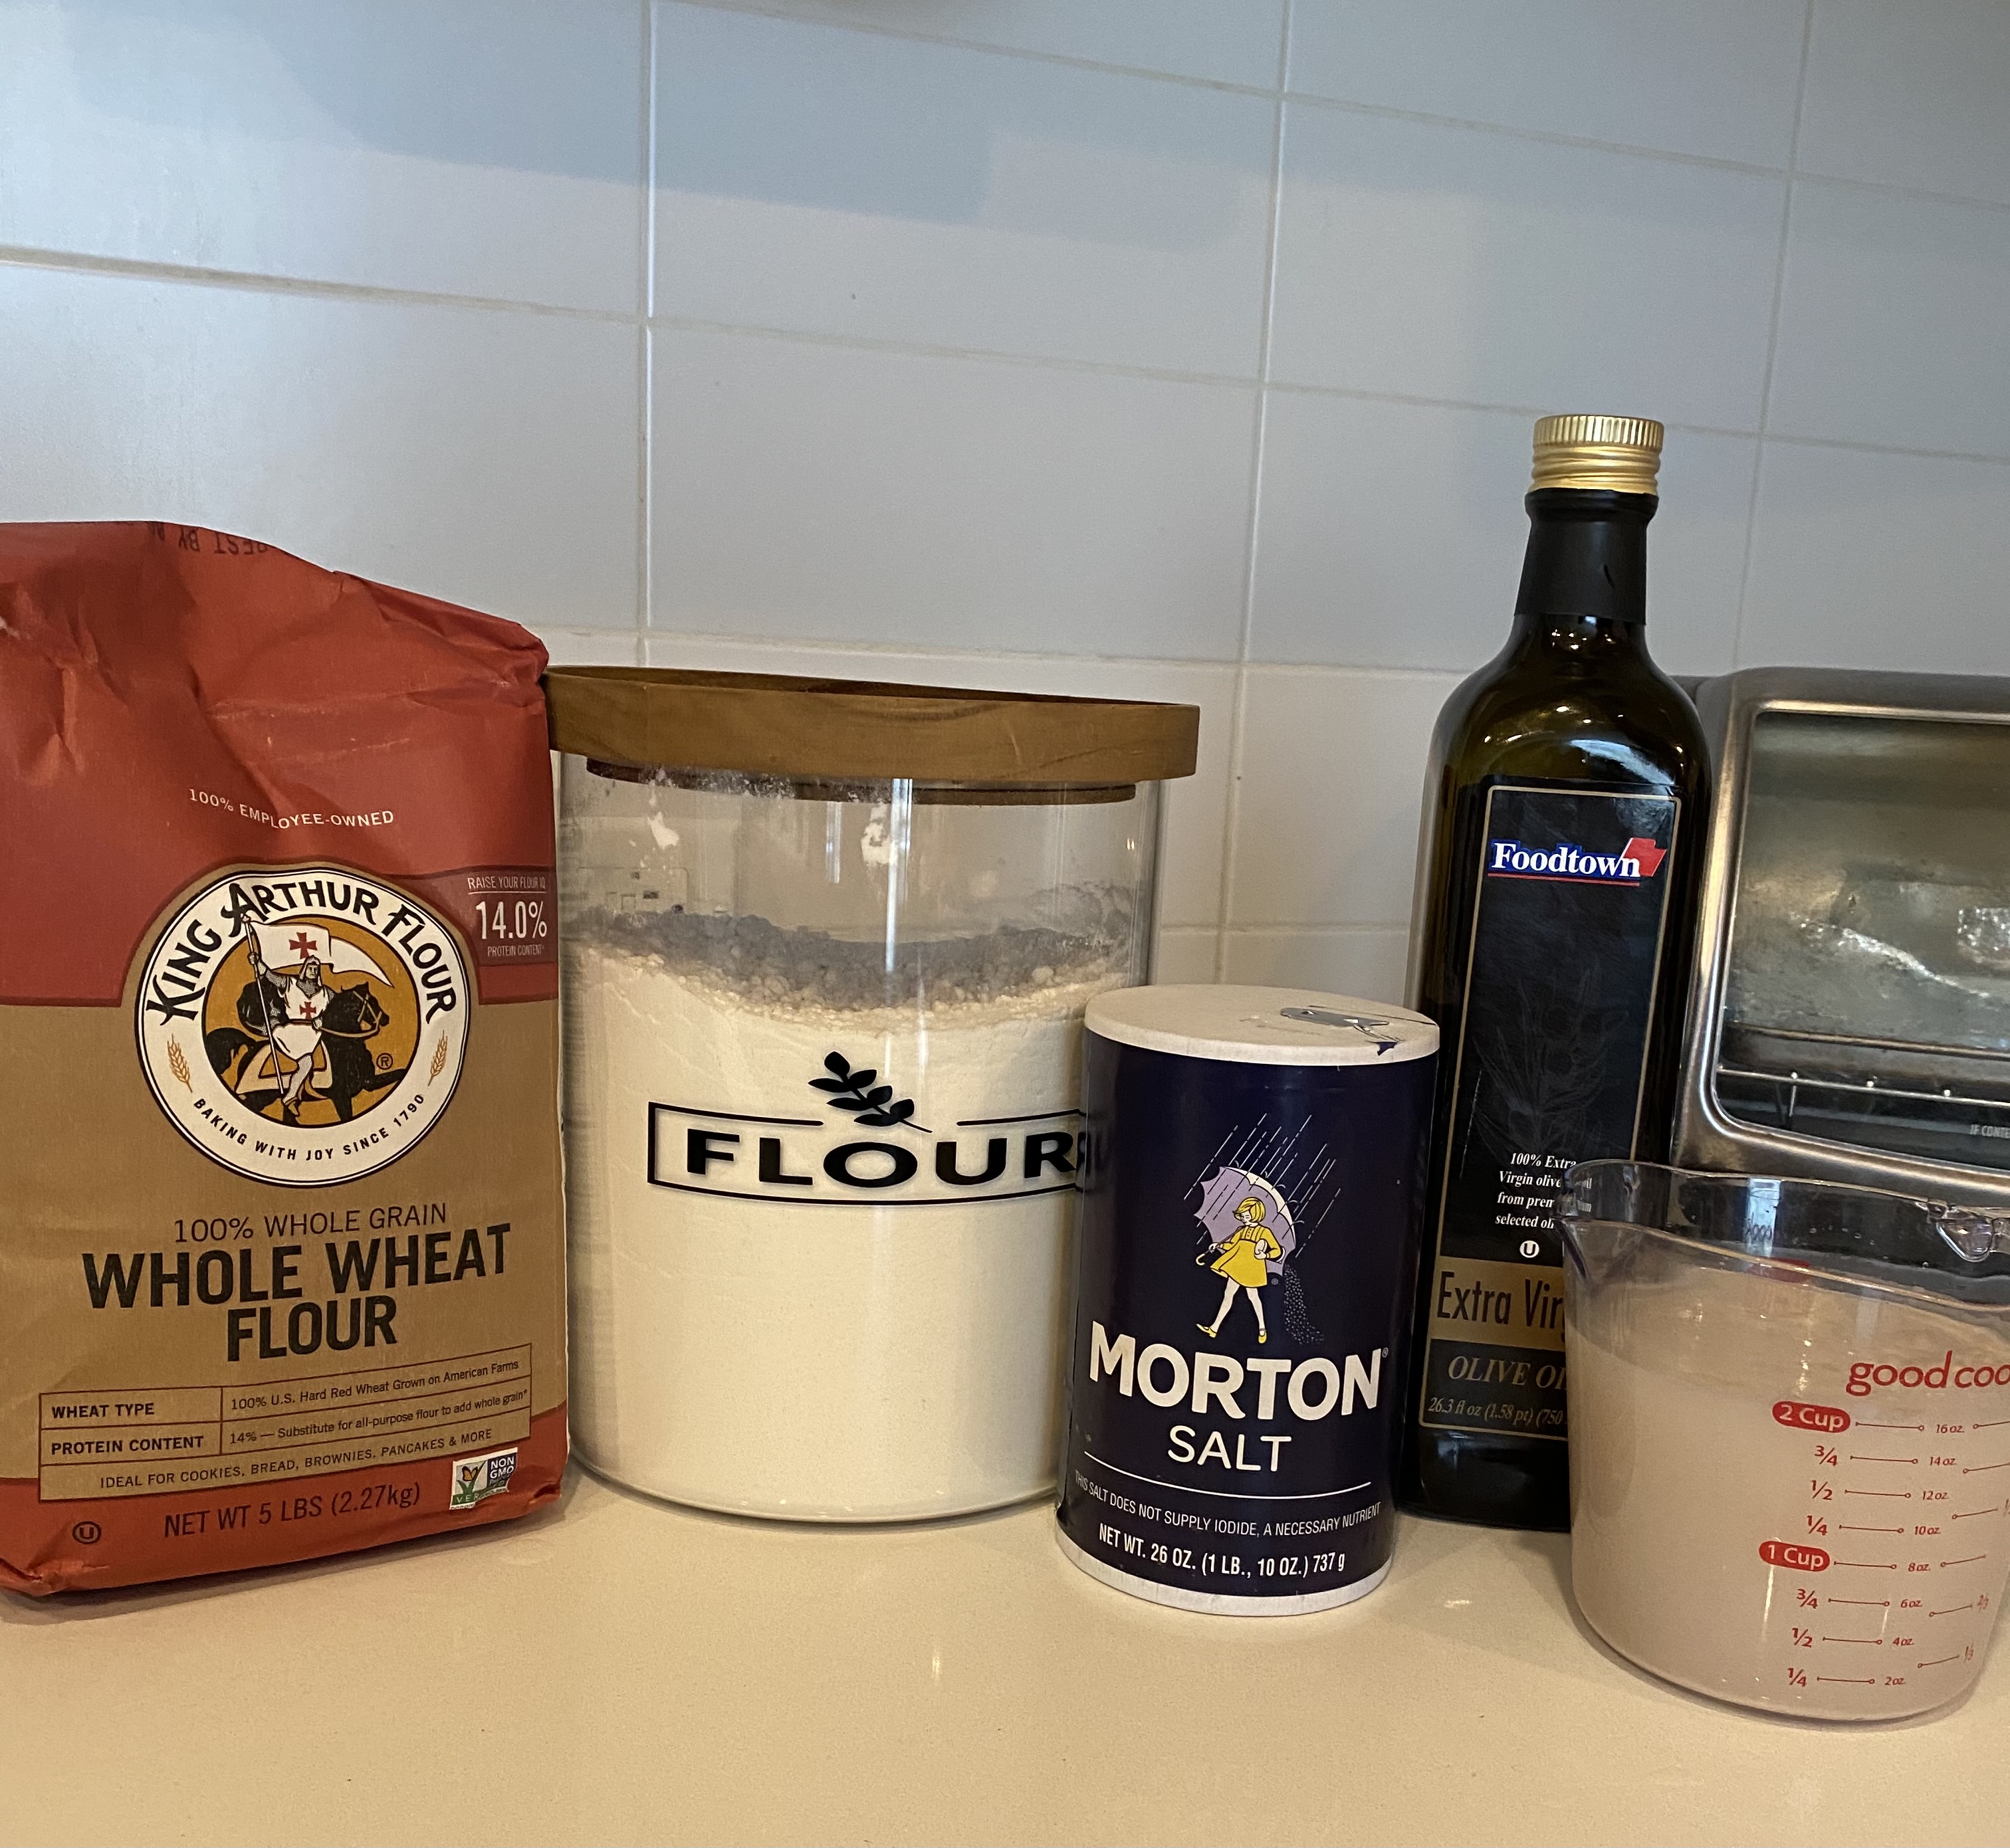
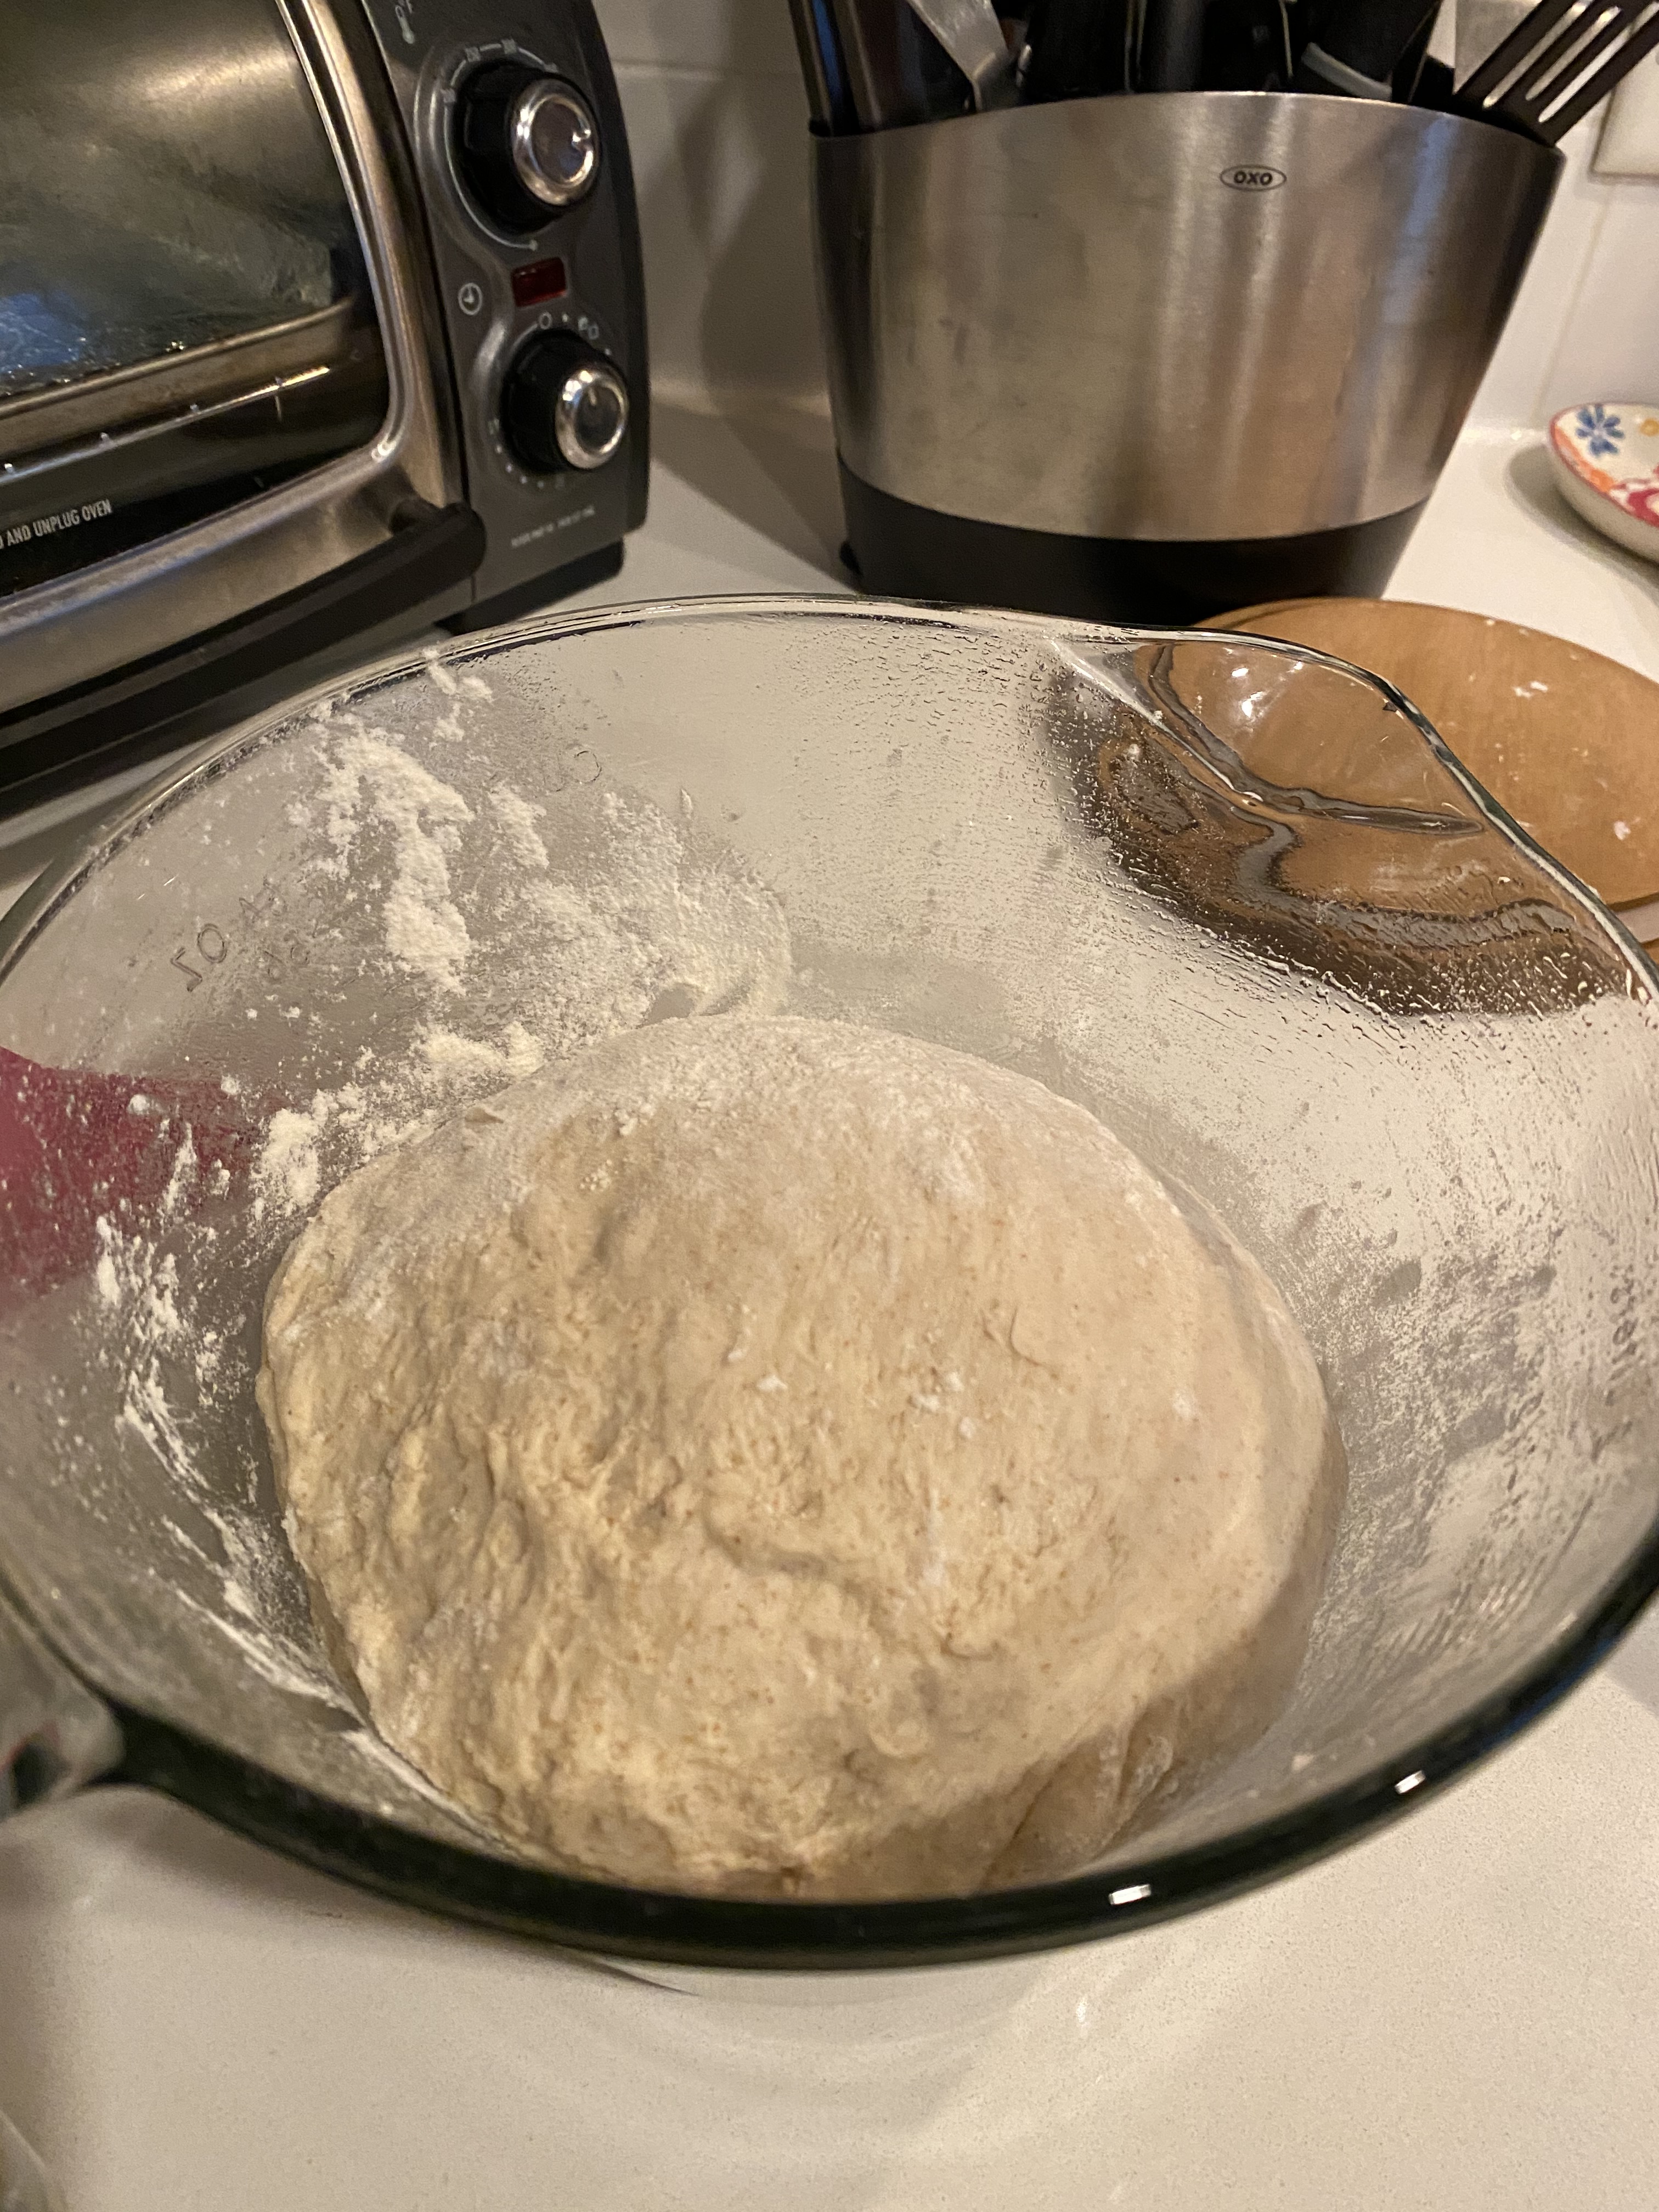
I started to bake my Dutch Oven Bread on Sunday around noon. In the photo above, you can see that again, this recipe didn’t call for a ton of ingredients. The murky looking liquid in the measuring cup is the lukewarm water with yeast mixture that I mentioned earlier and is the technique I was accustomed to using for a bread recipe. As my yeast was blooming in the water, I combined my flour and salt with my hands. The recipe calls for 4 cups of white all purpose flour but I used a suggestion from one of the reviews and used 3.5 cups of regular white flour and .5 a cup of wheat flour. Once the dry ingredients were incorporated, I made a well in the flour and poured in the water and yeast. I wetted my hands and then mixed everything all together.
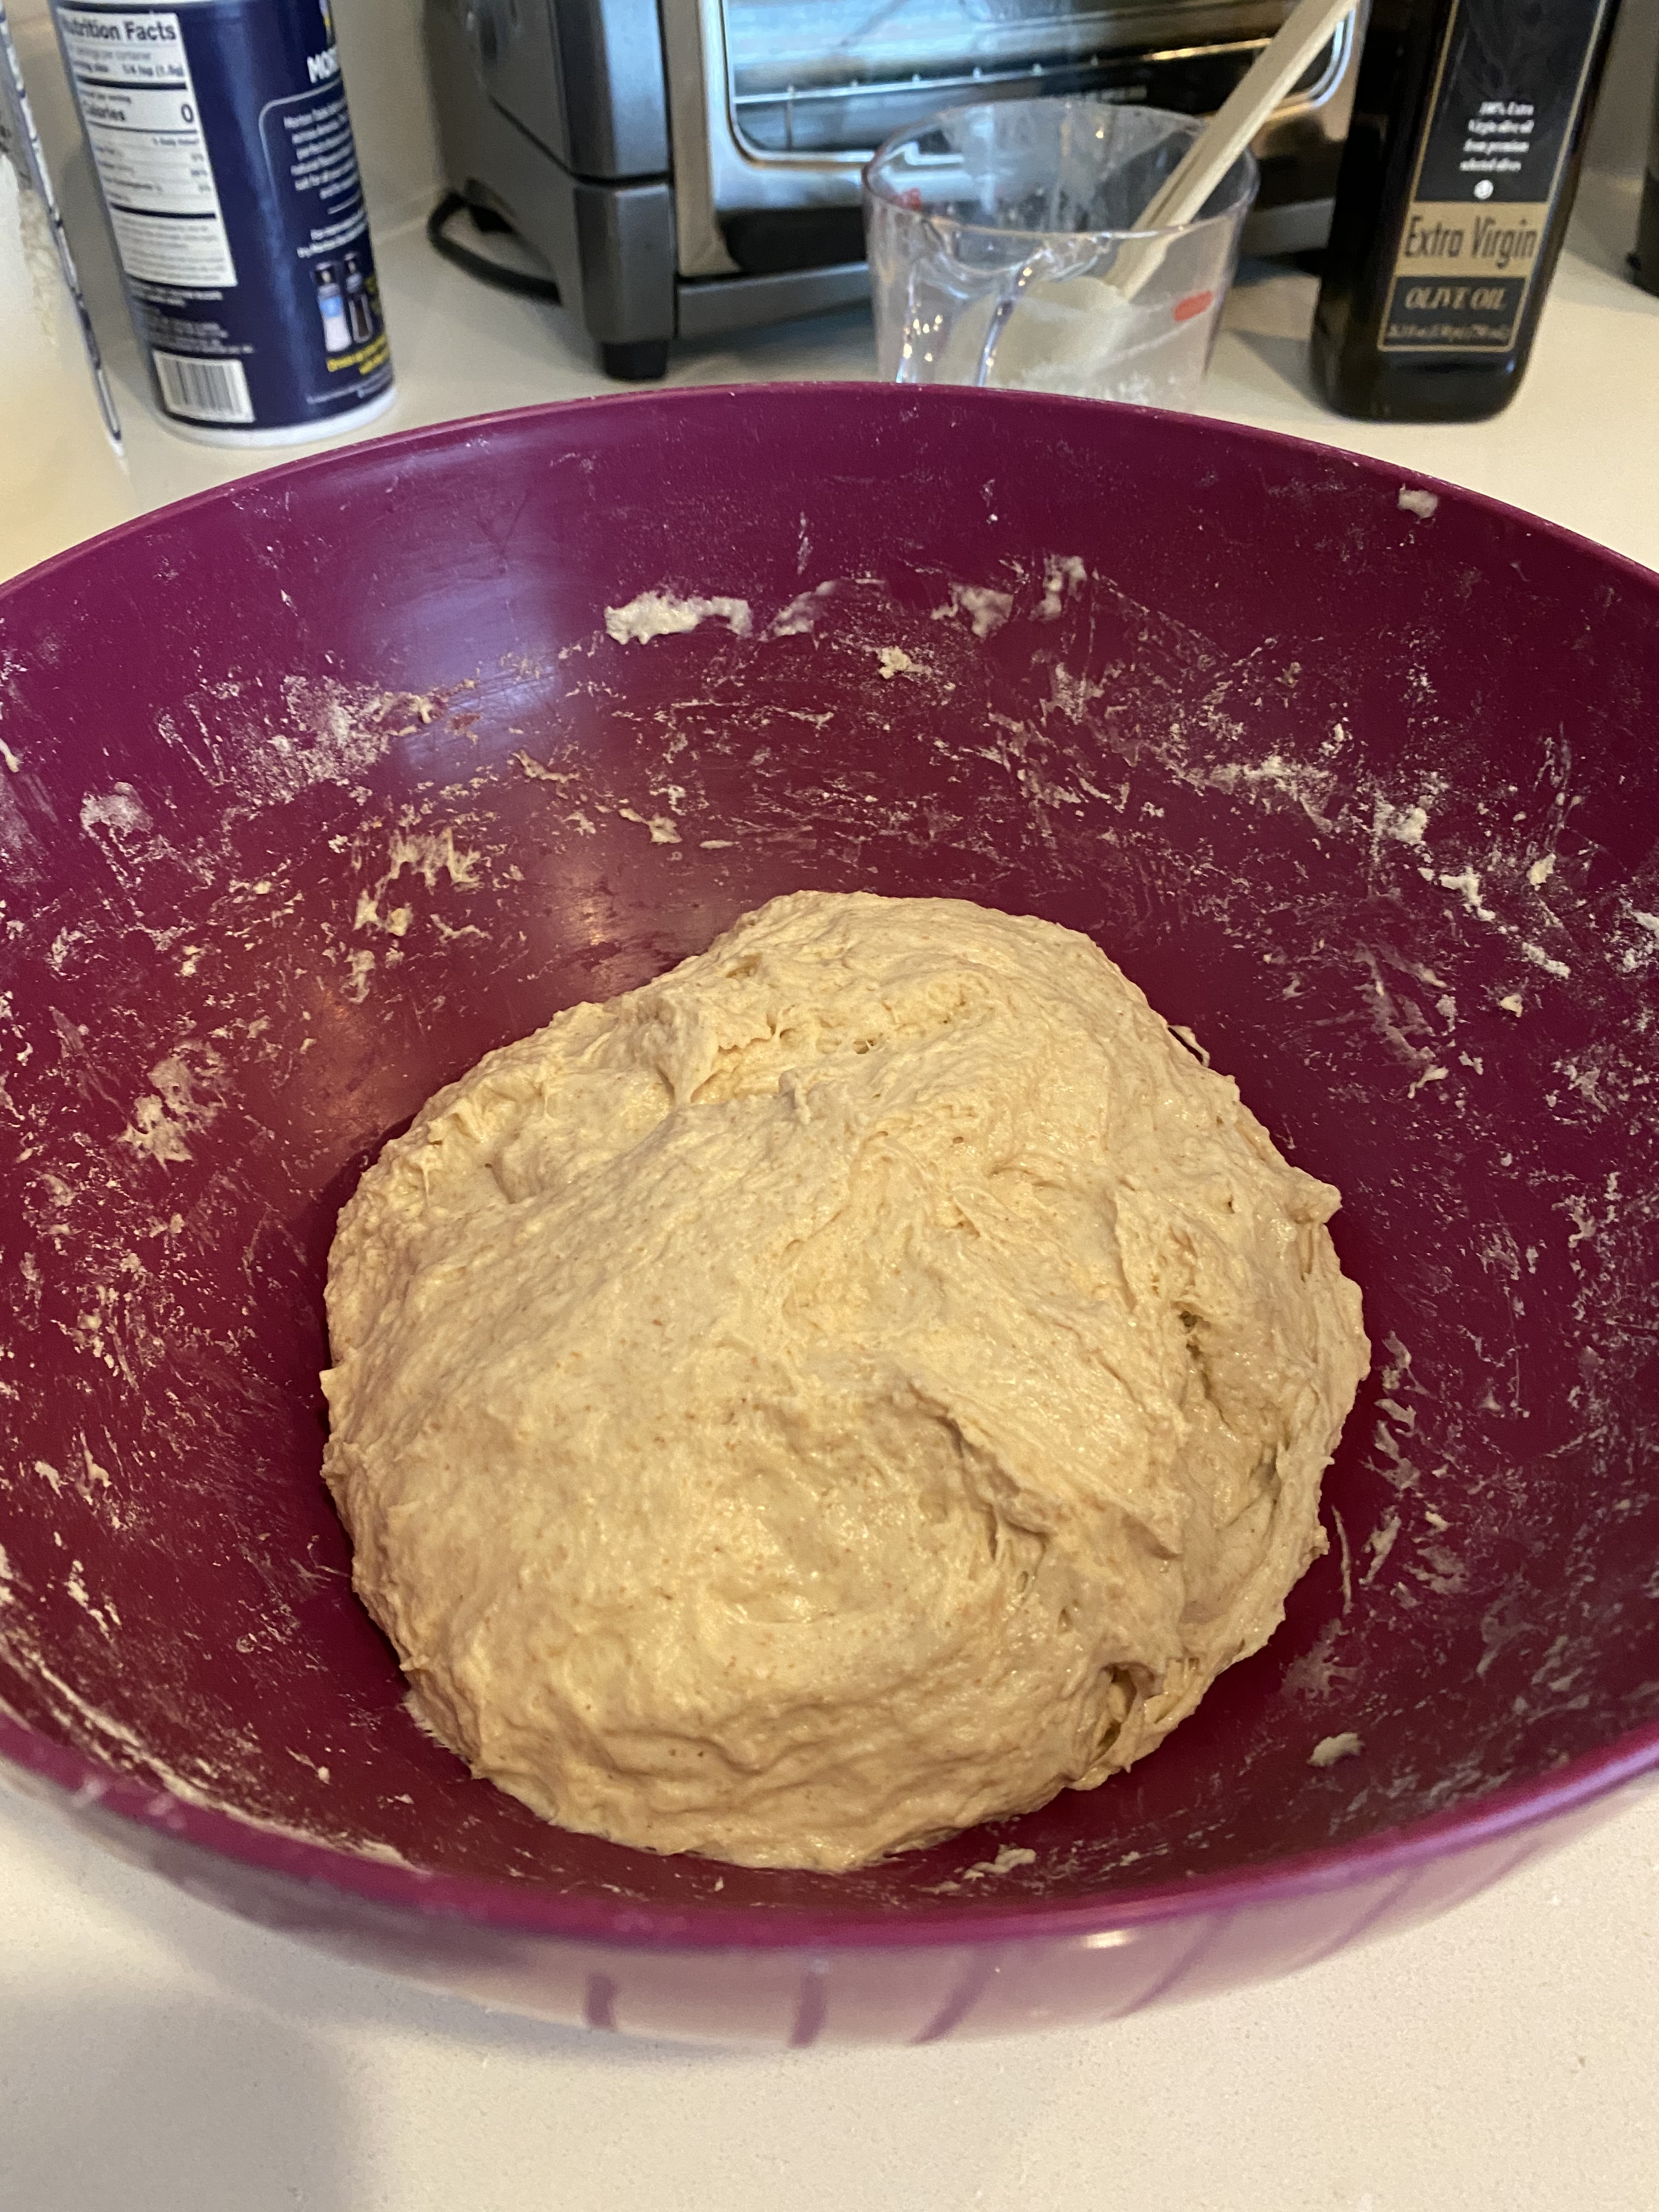

The photo on the left is how my dough looked after the initial mixing. I covered the bowl with a towel and two hours later I returned to find the dough well risen. The next step is to pull the edges of the dough from around the bowl and into the center. Once you do that, you cover the dough again and let it proof for another two hours.
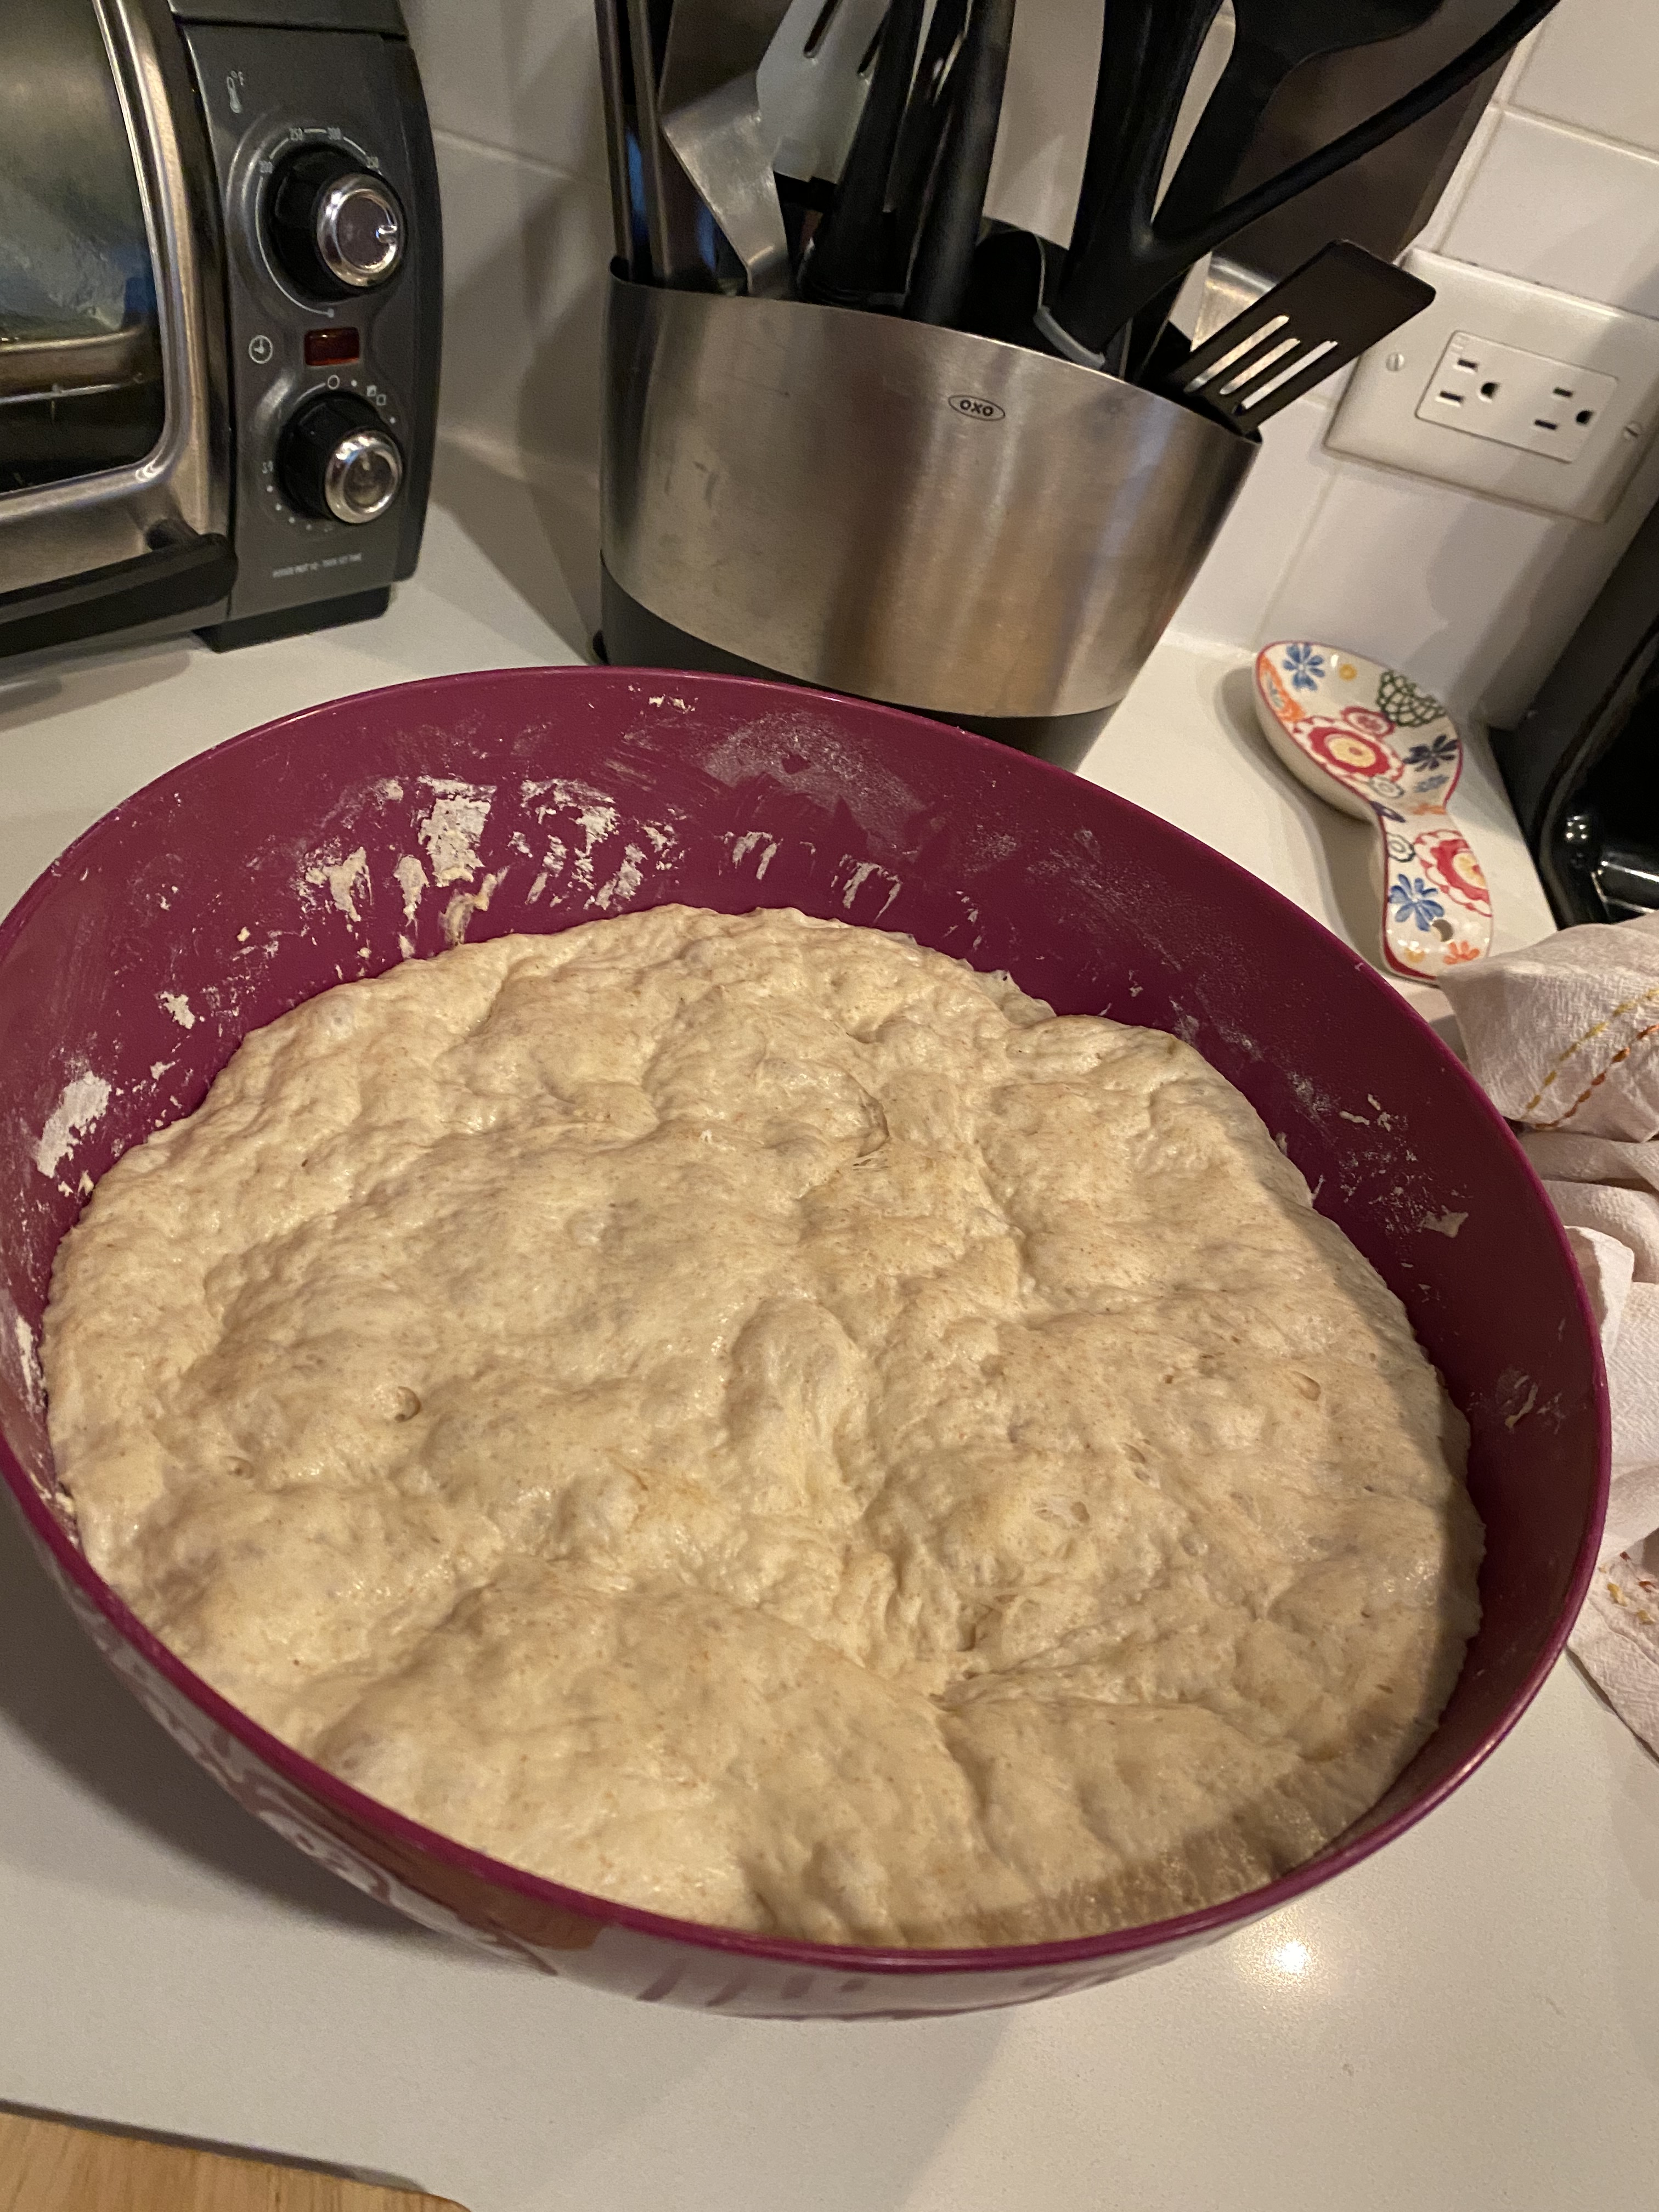
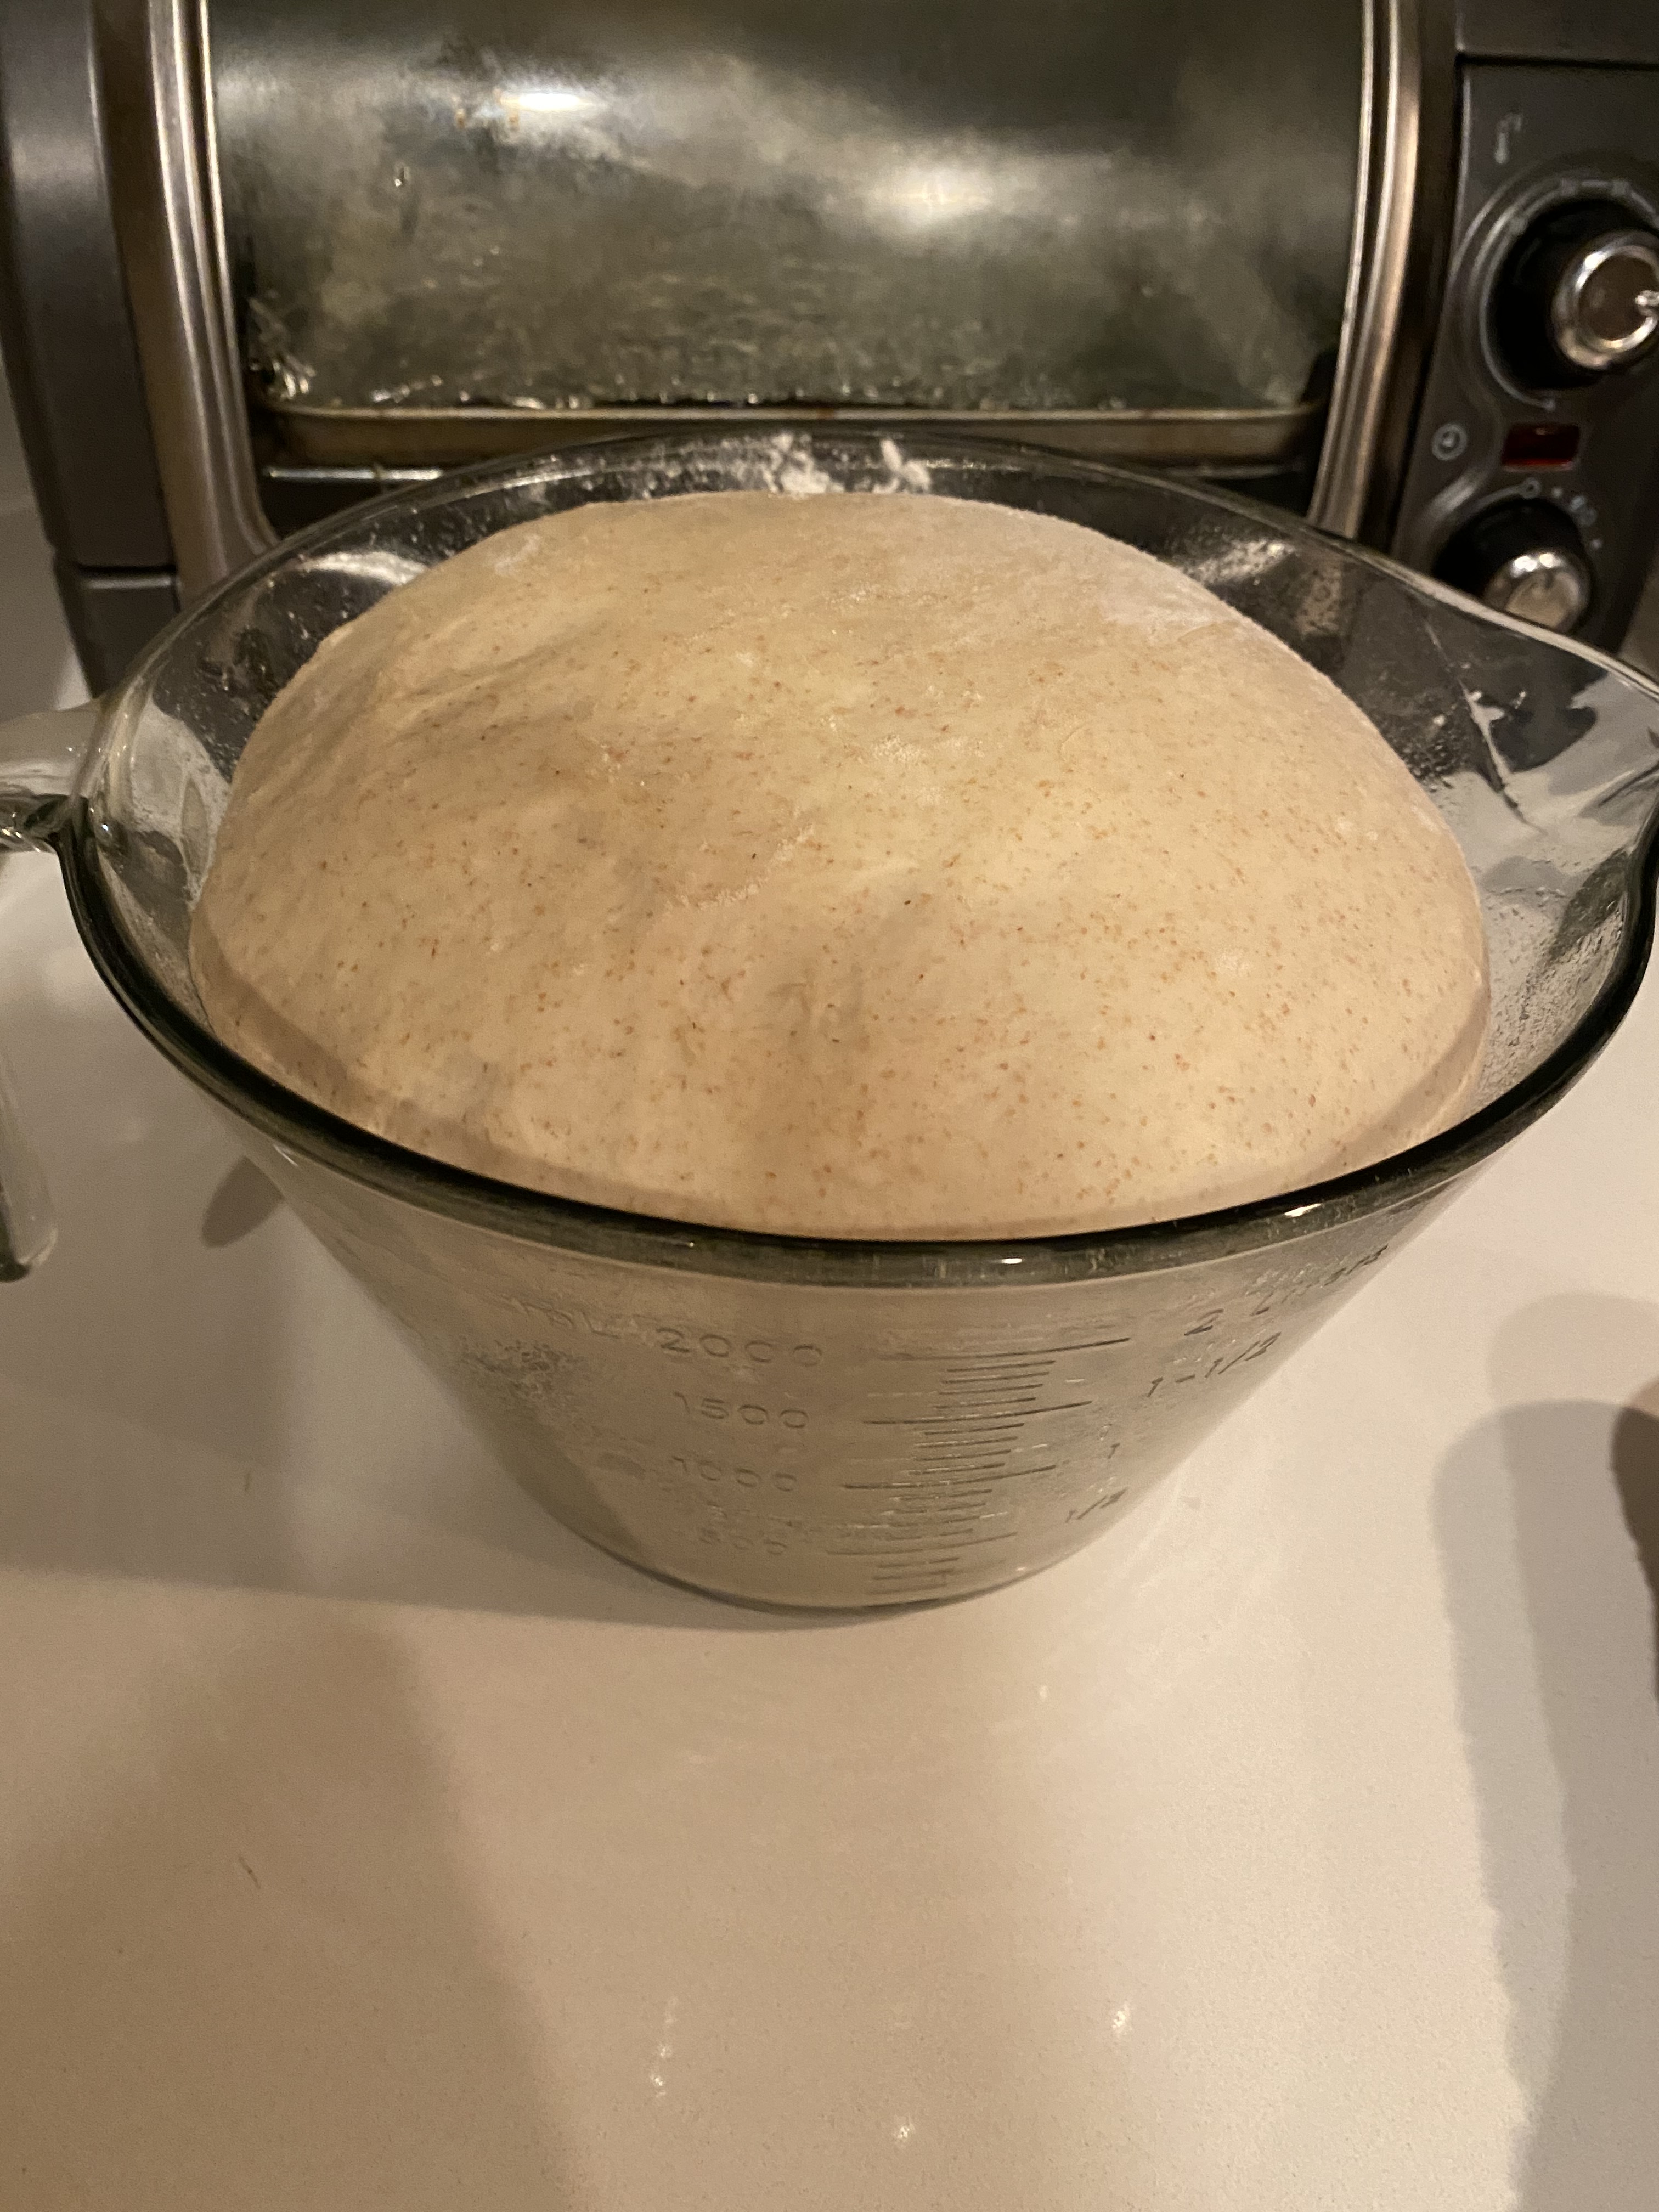
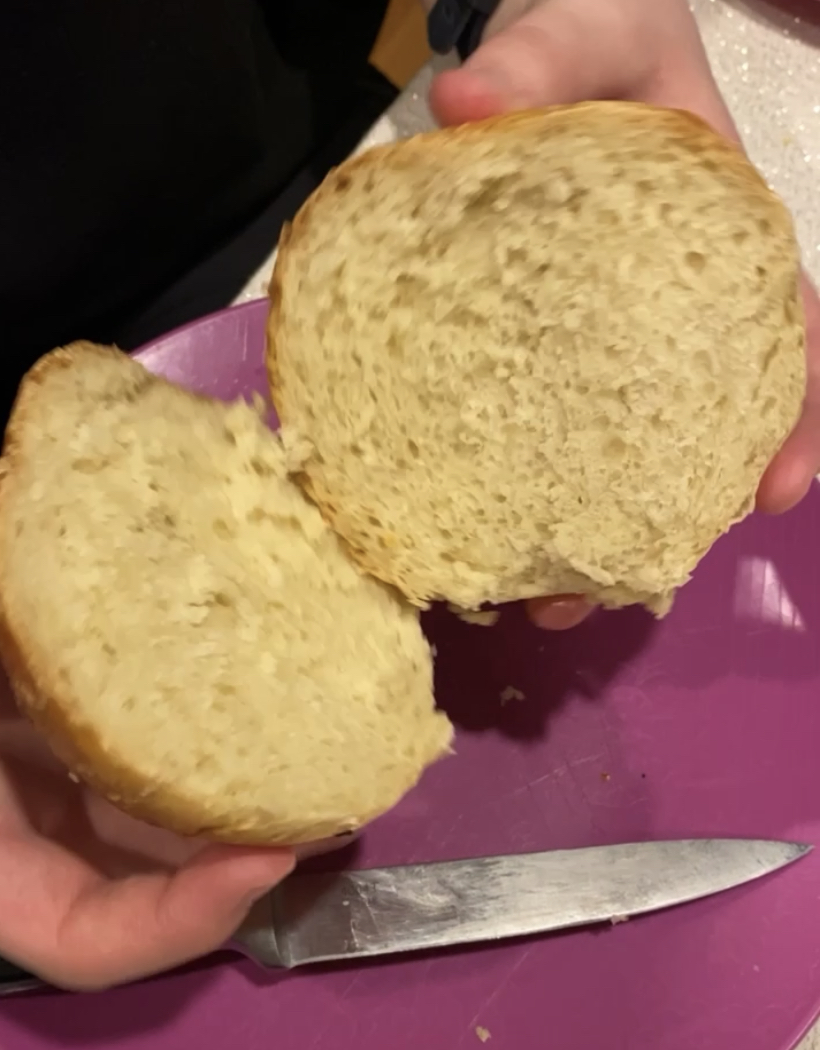
After those two hours were done, the dough looked like it does in the photo to the far left. You roll the dough onto a lightly floured surface to create a smooth ball with the seam on the bottom. You transfer the dough to a lightly oiled and floured bowl and let it rise for one more hour (see center photo). At the end of the final hour, the dough looked like it does in the far right photo. That final proof was definitely my favorite one to see. The dough was smooth and fluffy and had grown over the top of the mixing bowl. An important step that my friend reminded me was that a dutch oven has to preheat before using it so while the final proof was occurring, I placed the pot in the oven to preheat to 450 degrees. Without following that step, the dutch oven can shock and crack. So once, that was complete, the risen dough was plopped into the incredibly hot pot and placed in the oven. The bread bakes for 30 minutes with the lid on top and then another 15 minutes without. After those 45 minutes, the bread looked like the photos below:
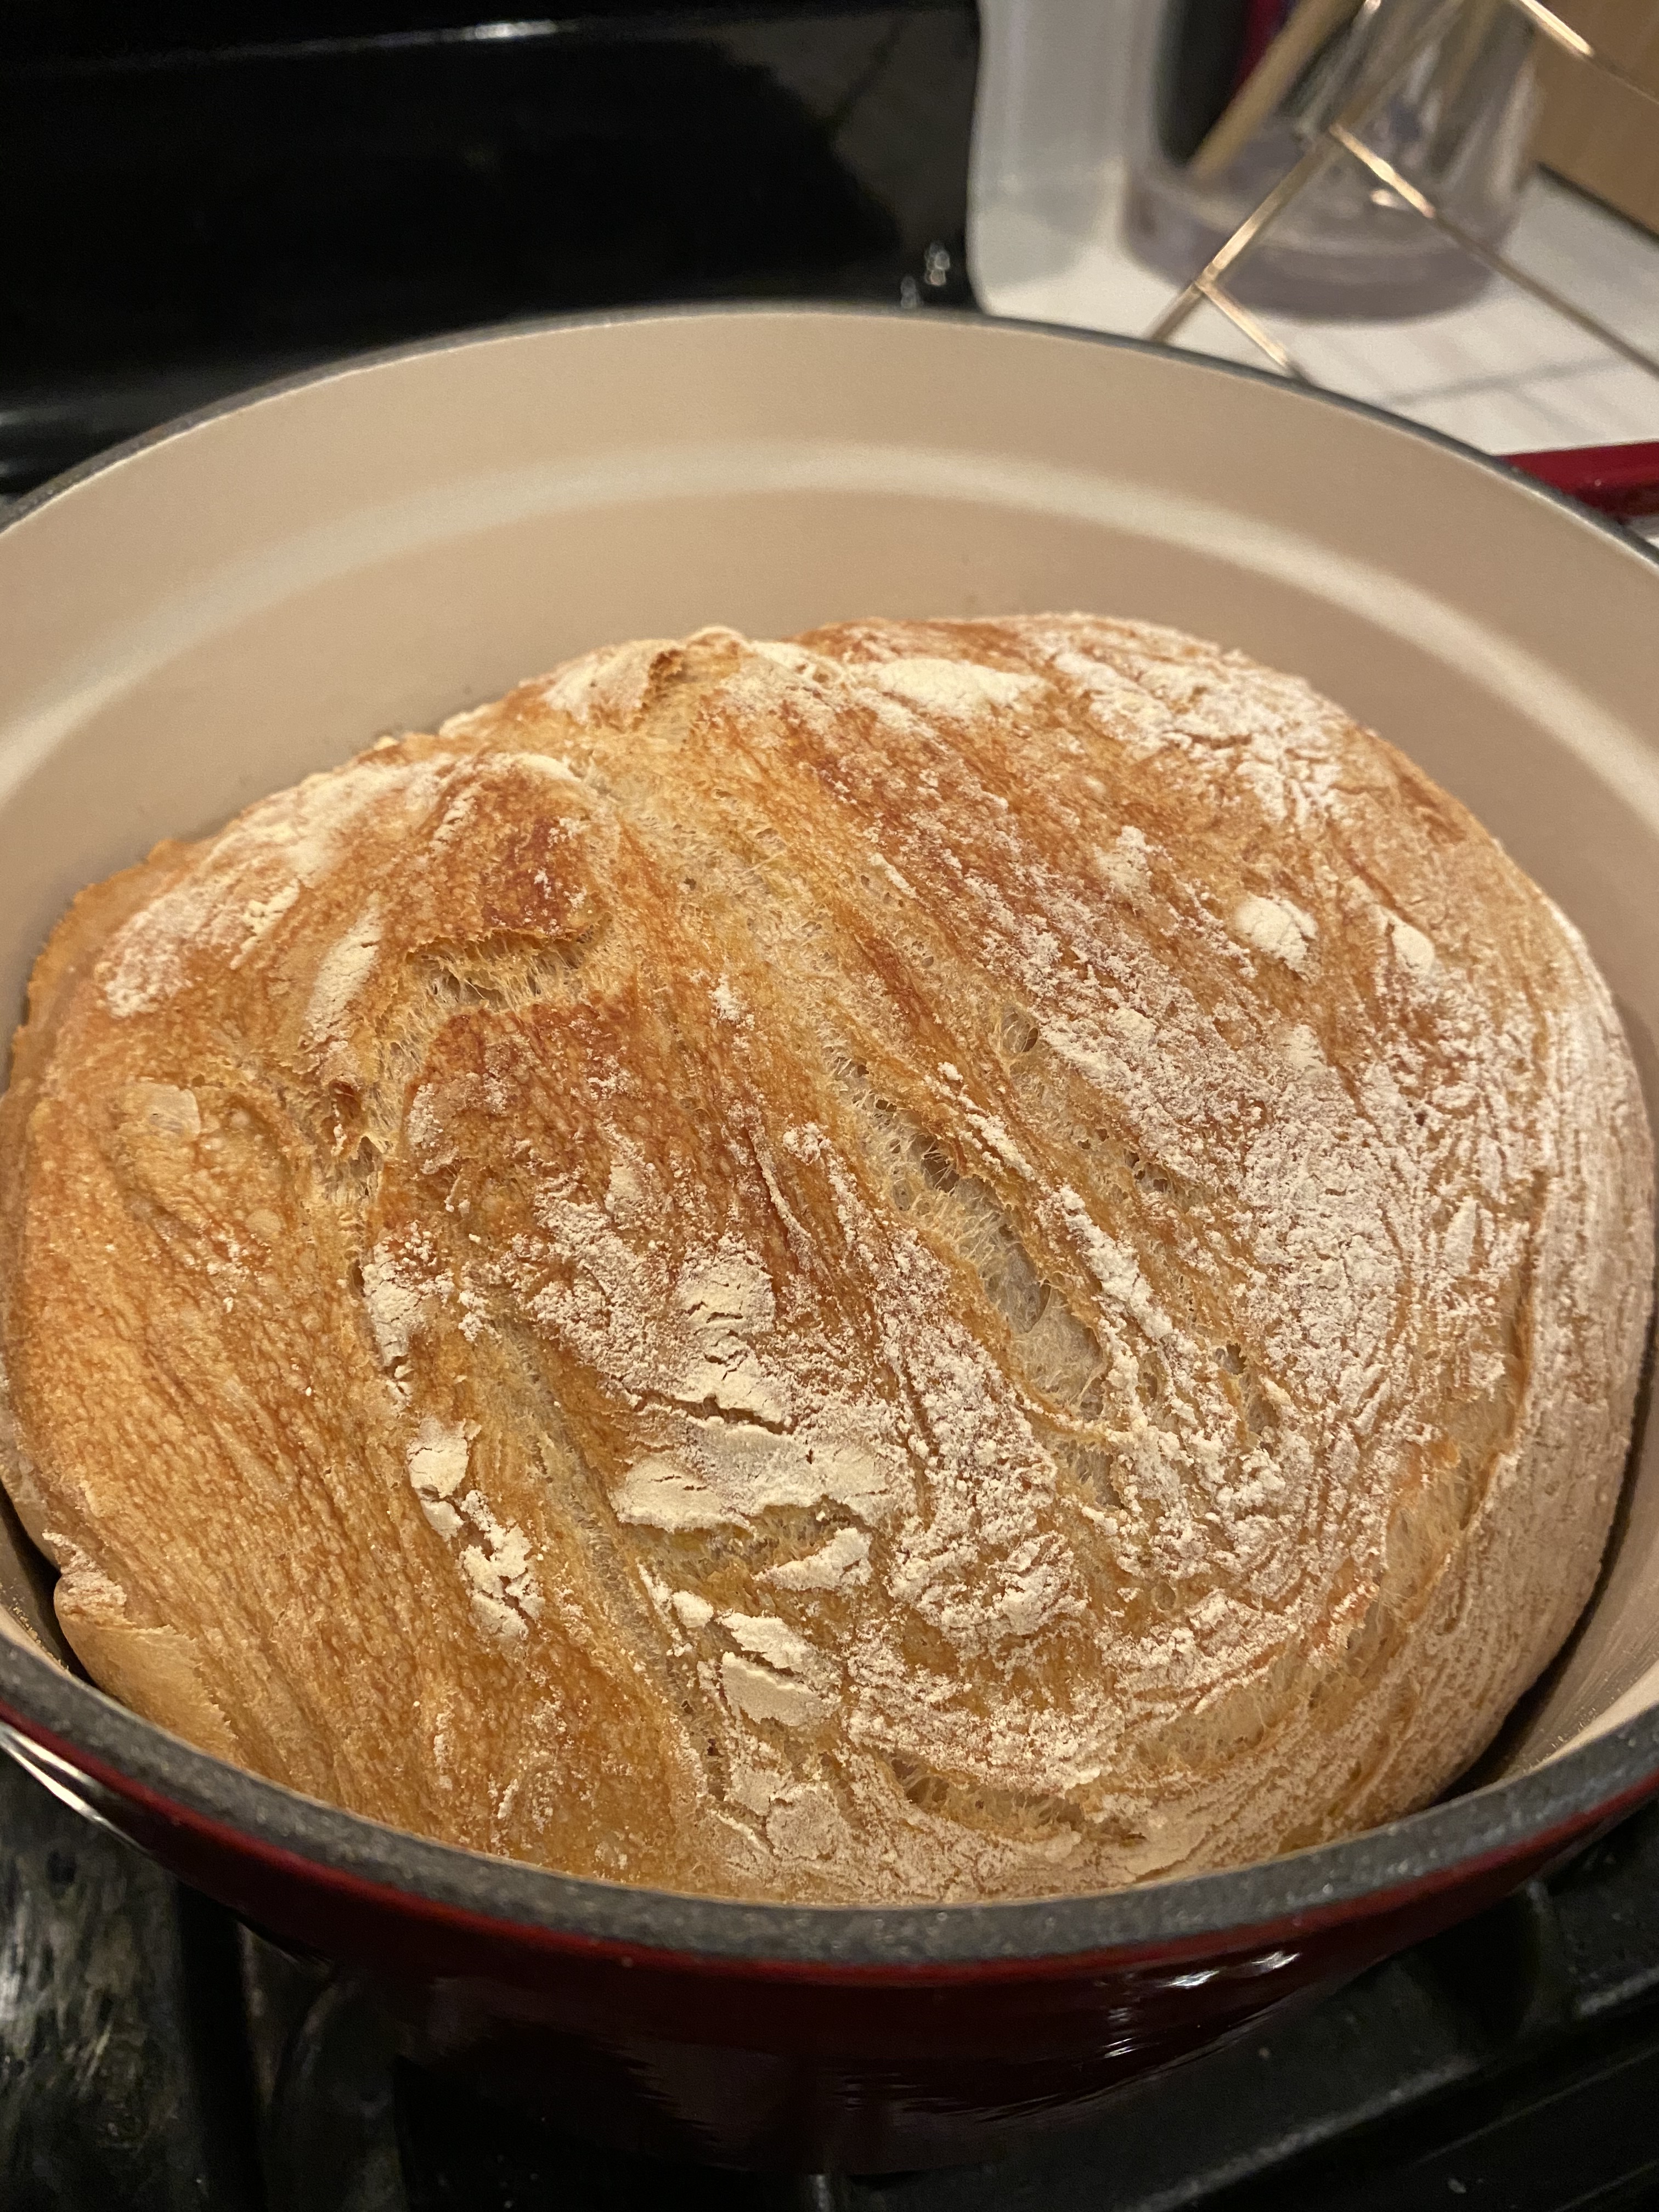
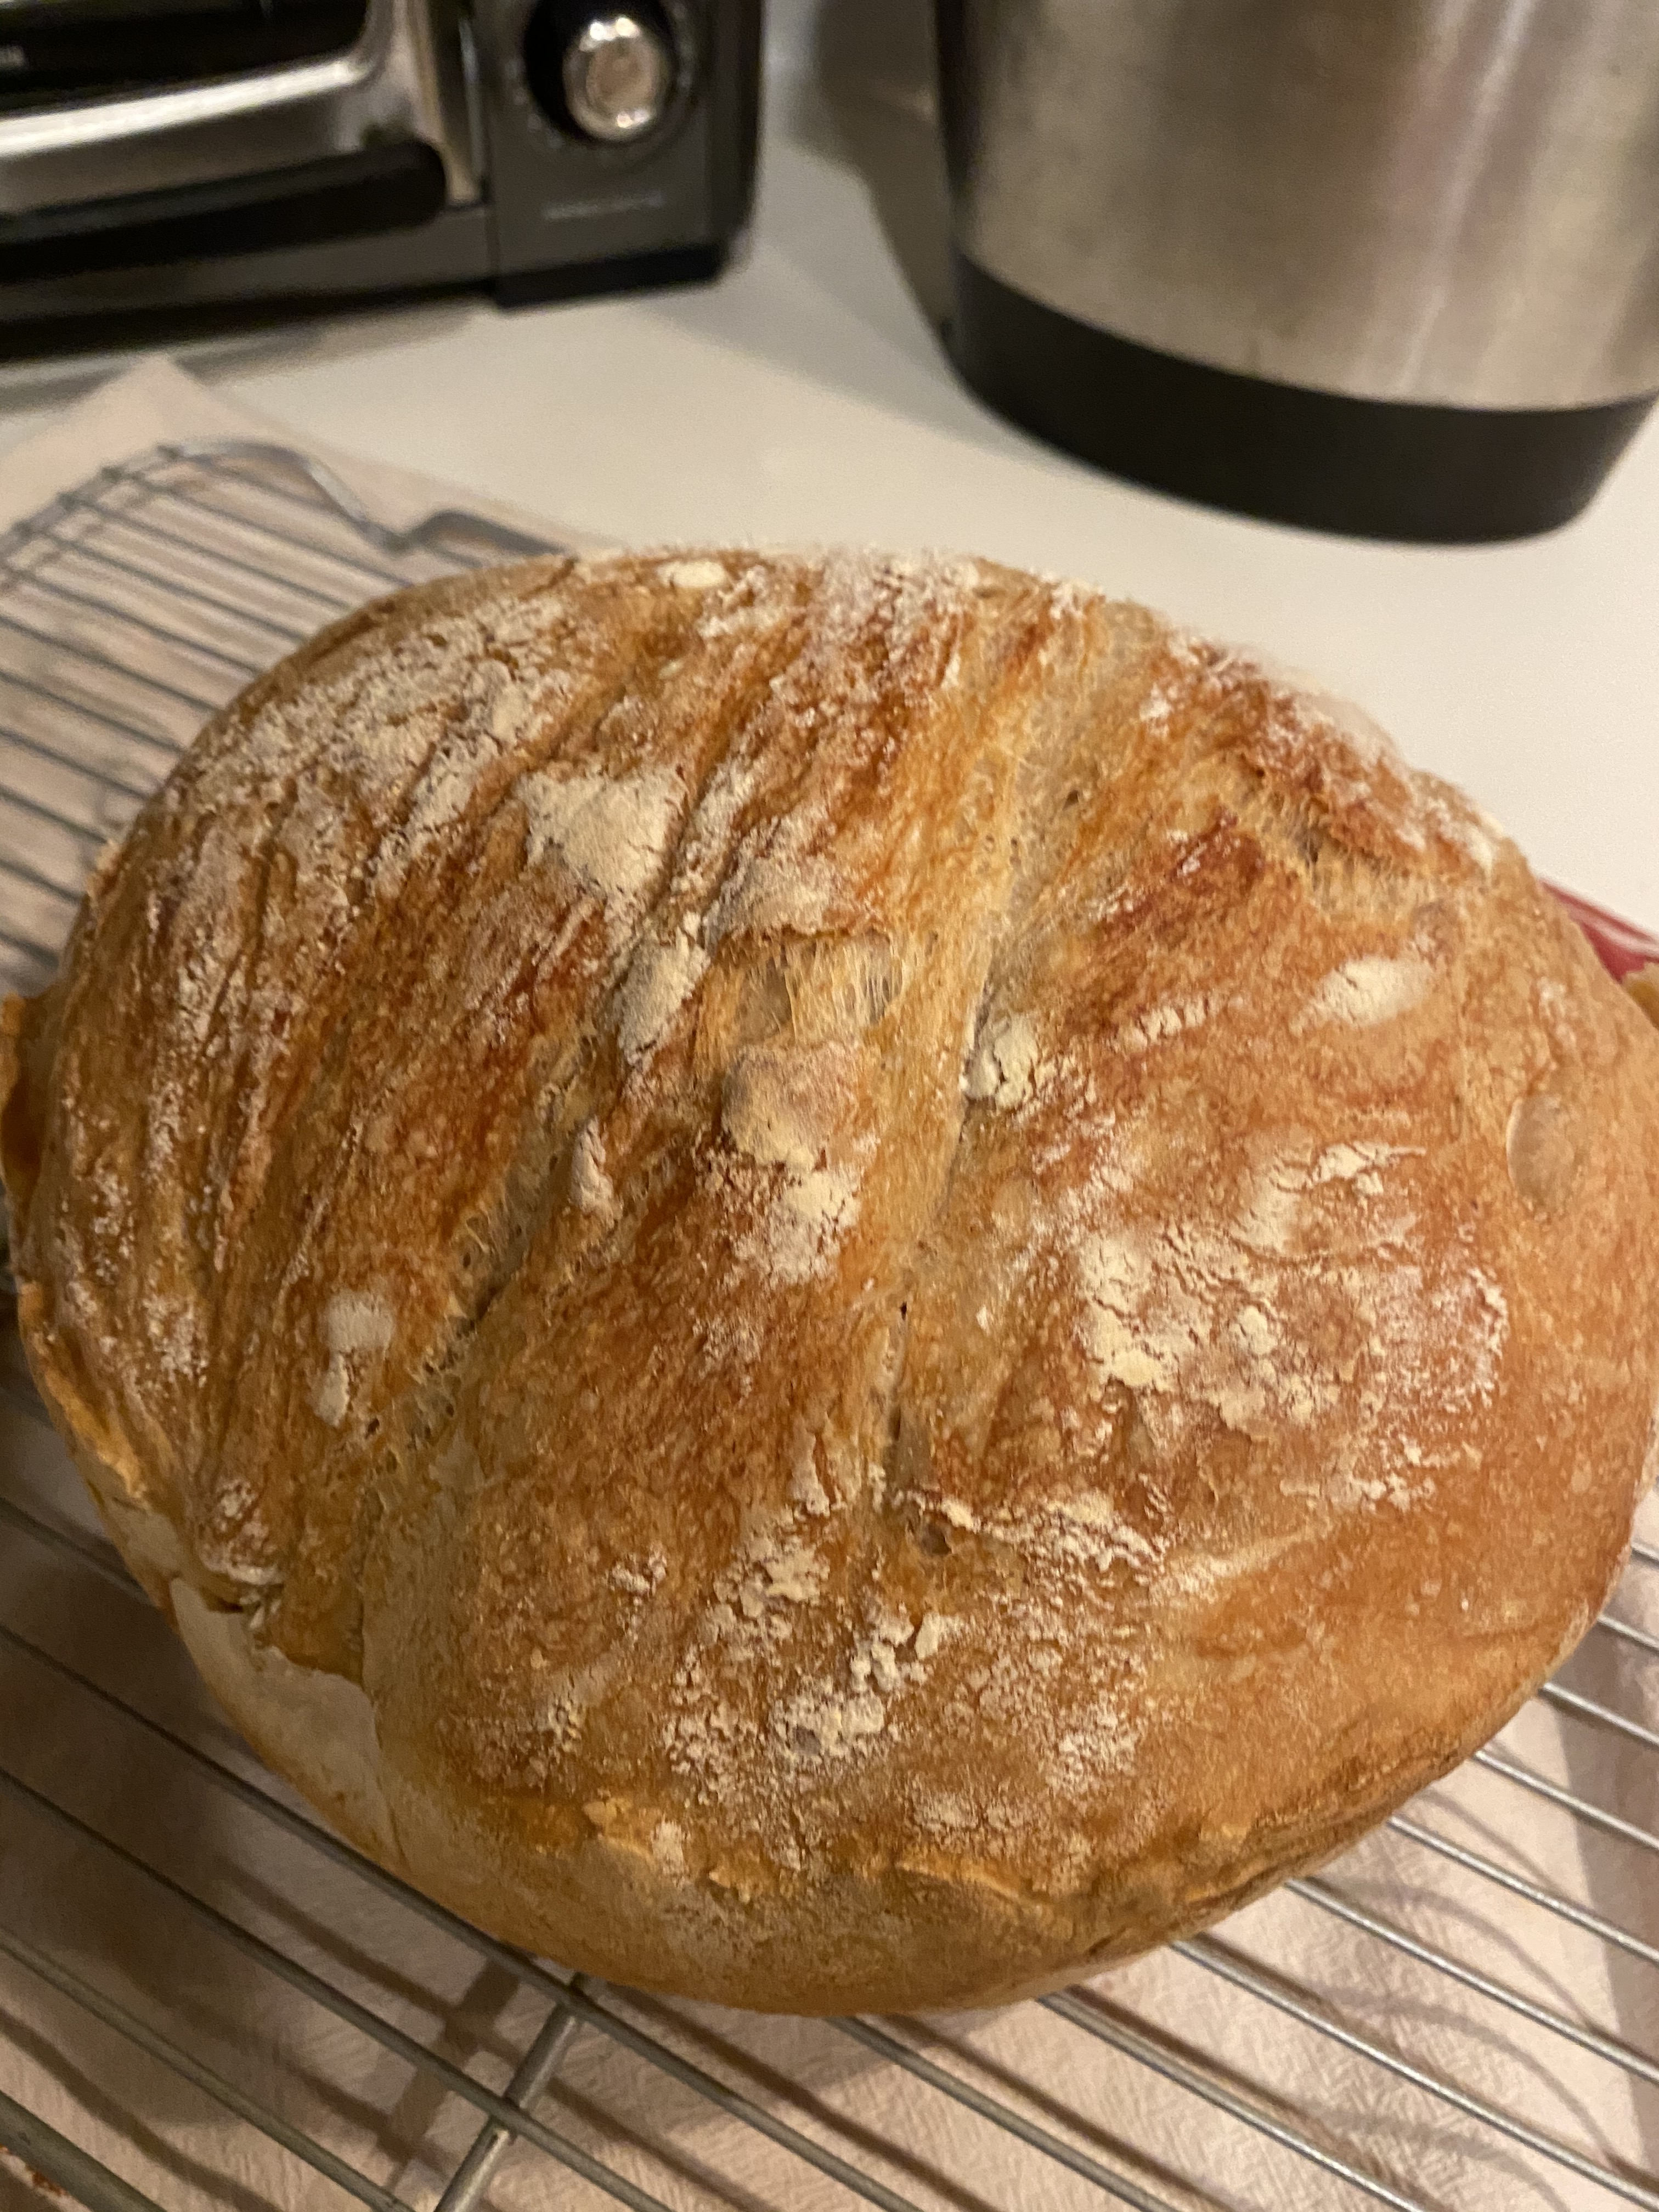
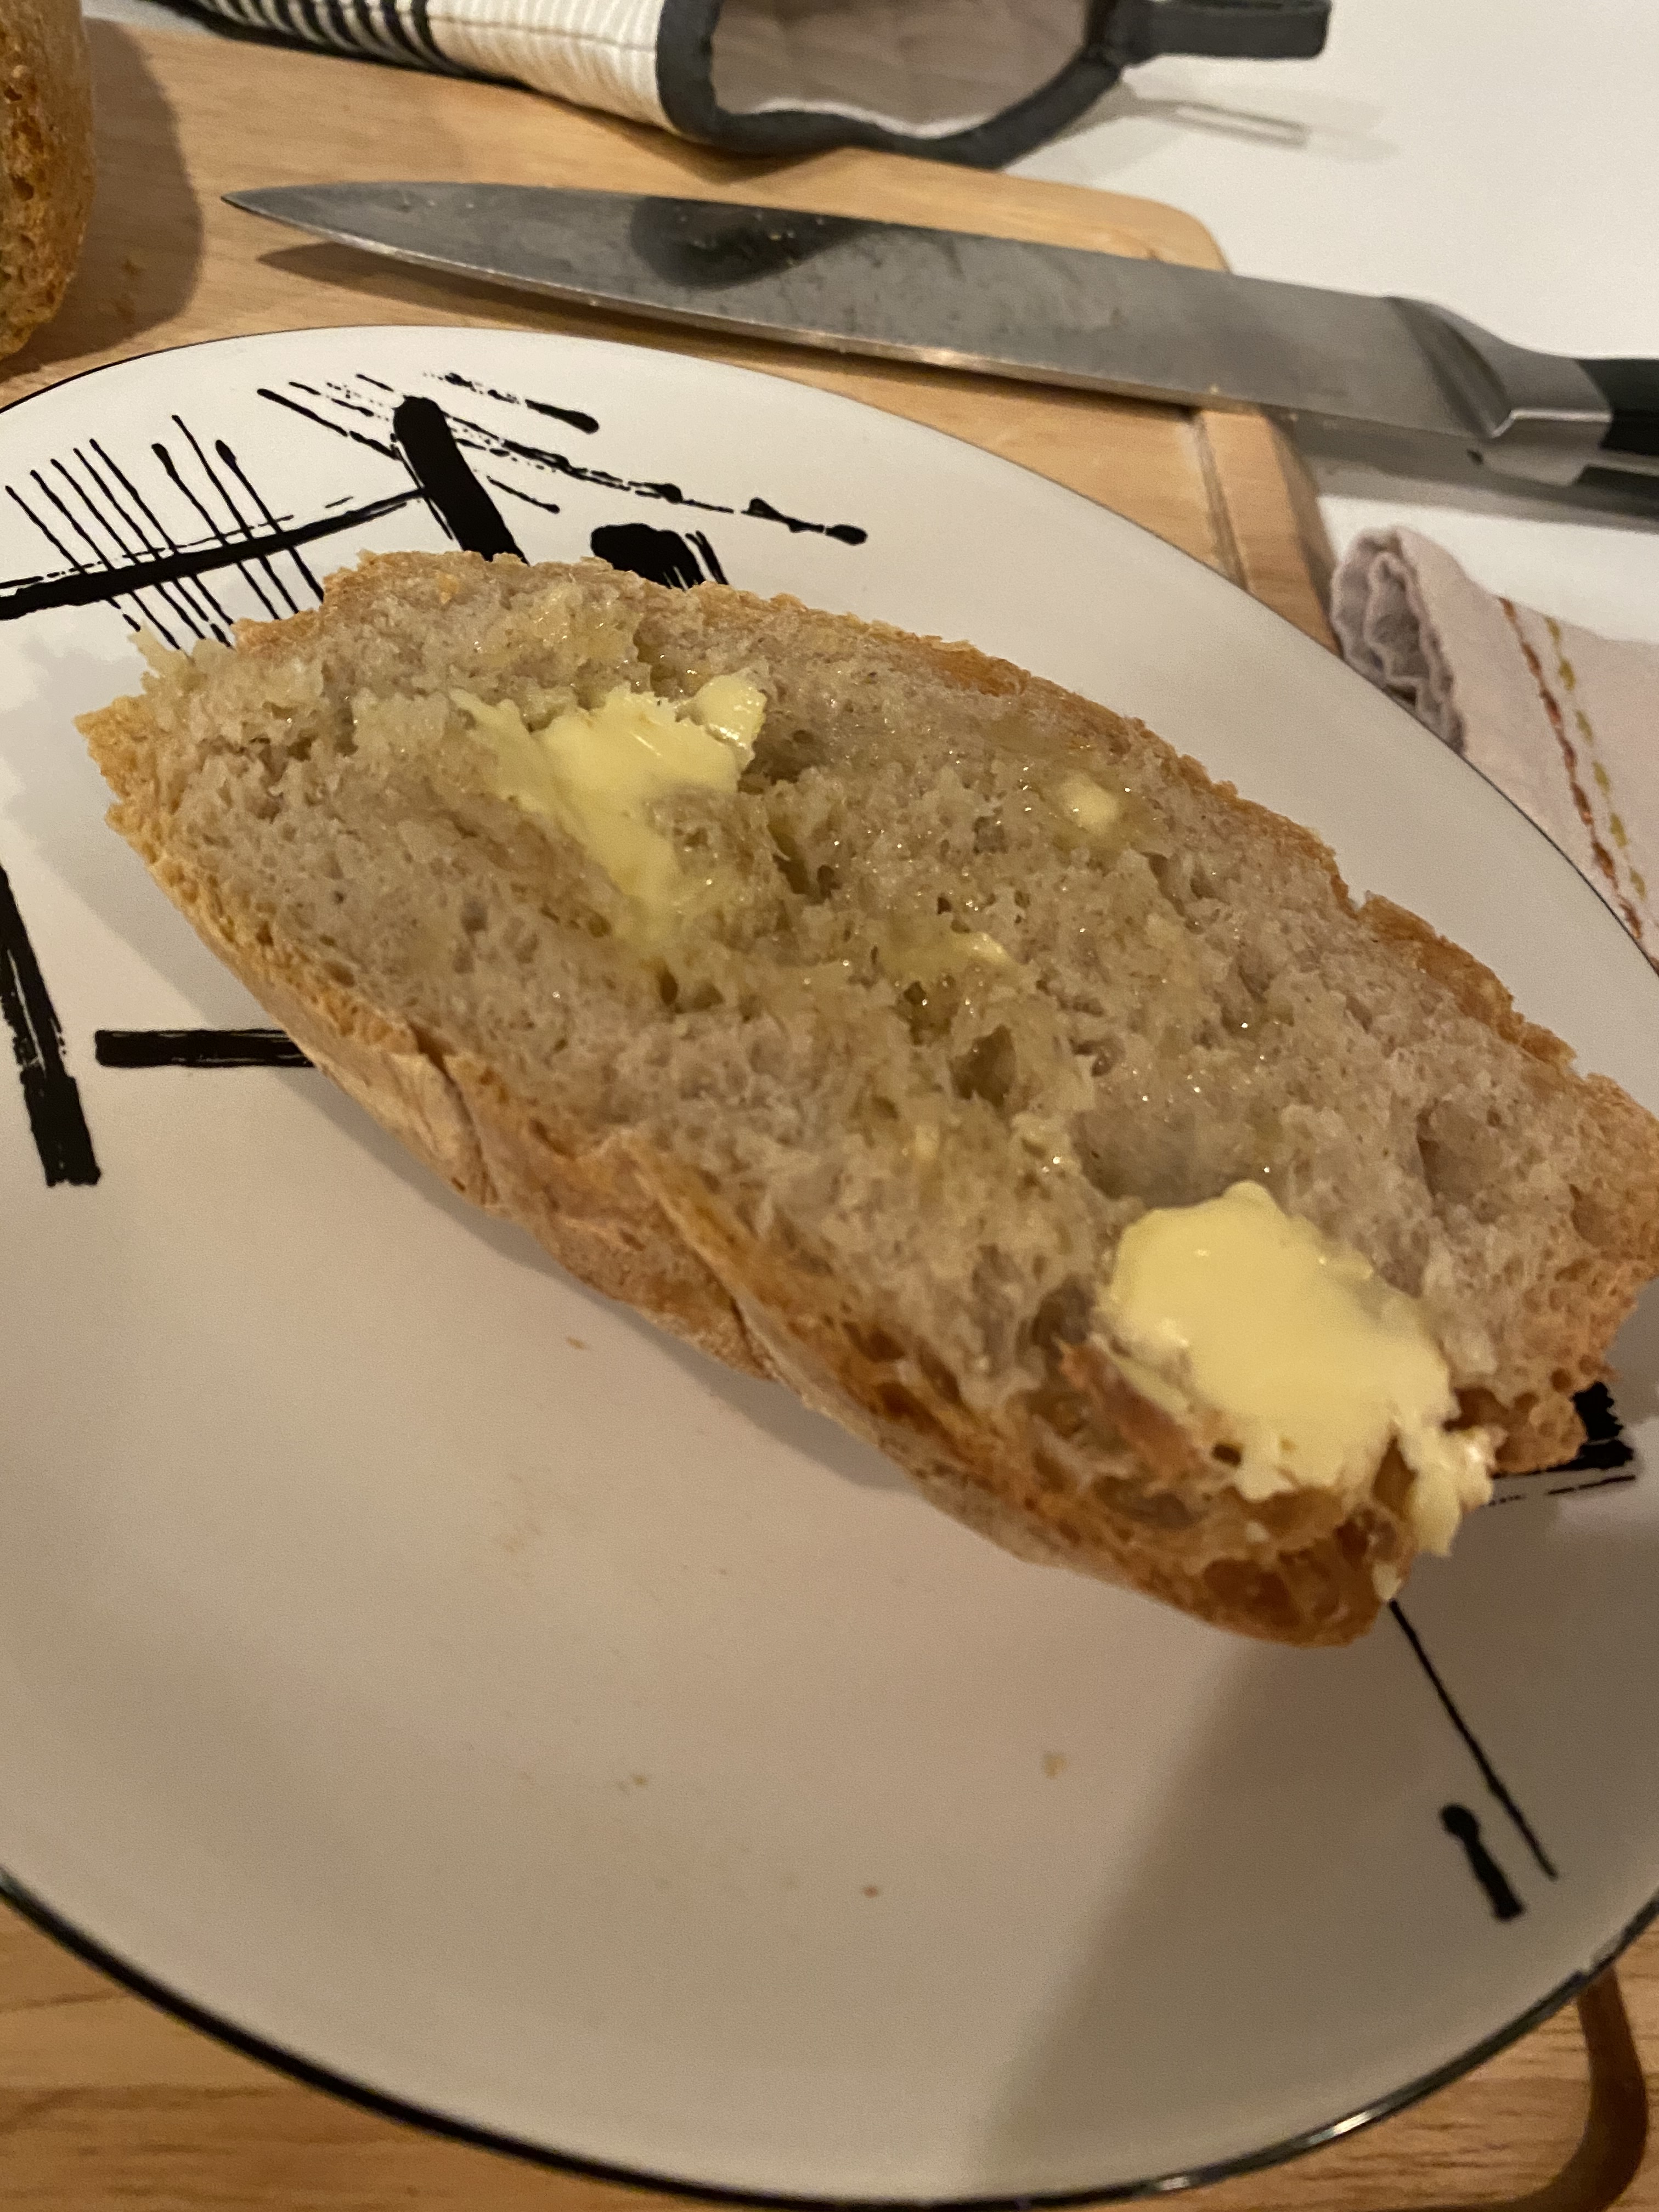
I removed the bread from the pot, covered it with a towel and let it cool down for 10 minutes. Then, after a total of 6 hours in the kitchen, I was able to taste the bread. I just put a little bit of butter on it but this week I’m looking forward to making avocado toast and turkey sandwiches for my lunches.

In case anyone would like to try out the recipes, here are each of the links one more time:
https://www.kingarthurbaking.com/blog/2011/05/16/countdown-to-summer-beautiful-burger-buns
https://dinnerthendessert.com/ultimate-sloppy-joes/
https://tasty.co/recipe/homemade-dutch-oven-bread
Thank you to everyone who read this far down my post!! This was definitely a long one! If you do try any of these recipes, let me know how they turned out. If you have any baking suggestions, let me know in the comments. These two breads were a fun, tasty pairing of baking challenges if I do say so myself. Next month, I’m planning to make a sweet treat I have seen several times on the Great British Bakeoff and have wanted to try for awhile. See you every so often and soon in February!

Oh goodness! I don’t have a dutch oven, but man do I really want to bake some bread now!
yeah! it’s super satisfying! I will try to find the link to the dutch oven. Last I checked they still had a deal going (not as cheap as Black Friday but not too bad)
Found it! https://www.macys.com/shop/product/martha-stewart-collection-4-qt.-enameled-cast-iron-round-dutch-oven-created-for-macys?ID=10485968&CategoryID=48533